
Remote Access
MikroTik IPsec Site-to-Site VPN Guide
Build a MikroTik IPsec site-to-site VPN: configure the IKEv2 peer, proposal, policy, and the NAT bypass rule that makes the tunnel work.
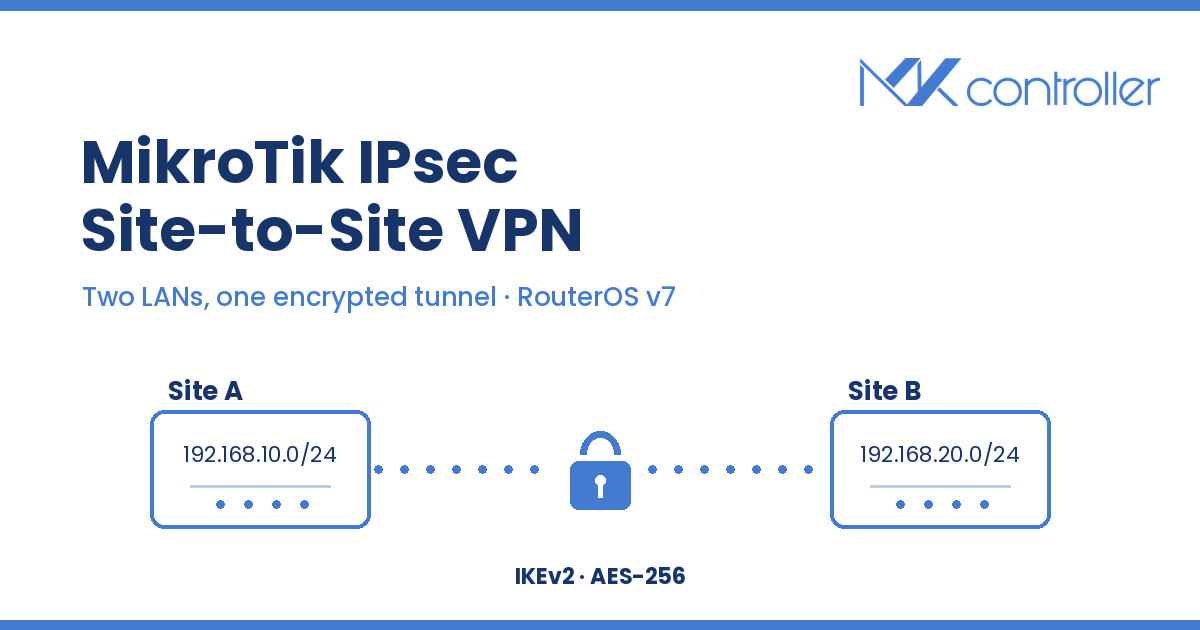
Summary A MikroTik IPsec site-to-site VPN encrypts traffic between two whole networks — a head office and a branch, a NOC and a tower site — so hosts on each LAN reach the other as if they were local. This guide configures both routers on RouterOS v7: the IKEv2 peer, the pre-shared key identity, the Phase 2 proposal, the tunnel policy, the NAT bypass rule that trips up most first attempts, and the firewall rules and checks that confirm the tunnel is live.
What is a MikroTik IPsec site-to-site VPN?
A MikroTik IPsec site-to-site VPN is a permanent encrypted tunnel between two routers that joins two separate LANs into one routable network at Layer 3, without either router exposing a management port to the public internet. Unlike client-access VPNs such as WireGuard or OpenVPN — where a single admin device dials in — a site-to-site tunnel is always-on and subnet-to-subnet: every host behind Router A can reach every allowed host behind Router B automatically. IPsec is the right tool here because it is an open standard supported by virtually every firewall and router vendor, it runs in the RouterOS kernel for good throughput, and on MikroTik it is built in with no extra package to install.
The tunnel is built in two negotiations. Phase 1 (IKE) authenticates the two routers to each other and sets up a secure channel; Phase 2 (IPsec) negotiates the keys that actually encrypt your data traffic. Get both phases matching on each end and the tunnel comes up; mismatch a single algorithm and it silently fails — which is why the steps below keep the two sides symmetric.
Before you start
You need two MikroTik routers on RouterOS v7, each with a public IP address or a working DDNS hostname, and two non-overlapping LAN subnets. This guide uses 192.168.10.0/24 at Site A and 192.168.20.0/24 at Site B. If both sites use 192.168.88.0/24, routing is impossible — re-address one side first. Because IPsec is very sensitive to clock skew, enable NTP on both routers before you begin; if the two ends drift apart, the security associations expire and the tunnel keeps dropping.
Managing that prerequisite across more than a handful of sites is already a chore. When you run a fleet, MKController gives you a single console to confirm every router’s RouterOS version and clock source before you cut a tunnel over, so you are not logging into each device just to confirm it is ready.
Step 1: Create the IKE profile and peer
On Site A, define the Phase 1 profile and point a peer at Site B’s public address:
/ip ipsec profile add name=to-siteB hash-algorithm=sha256 \    enc-algorithm=aes-256 dh-group=modp2048 lifetime=1d
/ip ipsec peer add name=siteB address=<SITE_B_PUBLIC_IP>/32 \    profile=to-siteB exchange-mode=ike2
dh-group=modp2048 is Diffie-Hellman Group 14 — a sound modern default. exchange-mode=ike2 selects IKEv2, which is faster and more robust than the legacy main/IKEv1 mode. Both ends must use the same profile values and the same exchange mode.
Step 2: Add the identity (pre-shared key)
/ip ipsec identity add peer=siteB auth-method=pre-shared-key \ secret="<long-random-shared-secret>"Use a long, random secret and store it the way you would an SSH key — not in a chat message. The same secret goes on both routers.
Step 3: Define the Phase 2 proposal
/ip ipsec proposal add name=to-siteB auth-algorithms=sha256 \ enc-algorithms=aes-256-cbc pfs-group=modp2048Perfect Forward Secrecy (pfs-group) means each rekey uses fresh key material, so a compromised key never exposes past traffic. As with Phase 1, the algorithms must match on both ends.
Step 4: Create the tunnel policy
The policy tells RouterOS which traffic to encrypt — the local LAN to the remote LAN:
/ip ipsec policy add peer=siteB tunnel=yes \ src-address=192.168.10.0/24 dst-address=192.168.20.0/24 \ proposal=to-siteB action=encrypttunnel=yes is what makes this site-to-site rather than host-to-host: the original packets are wrapped whole, so the two LANs can talk transparently.
Step 5: Add the NAT bypass rule (the step everyone forgets)
This is where most first attempts break. Your router already has a masquerade rule that rewrites the source address of outbound LAN traffic. If that fires before IPsec, the remote end receives packets whose source no longer matches the policy and drops them. Add an accept rule above the masquerade so tunnel-bound traffic skips NAT:
/ip firewall nat add chain=srcnat action=accept place-before=0 \ src-address=192.168.10.0/24 dst-address=192.168.20.0/24place-before=0 puts the rule at the very top of the srcnat chain, which is mandatory — a bypass rule placed after masquerade does nothing.
Step 6: Open the firewall and verify
Allow the IKE and NAT-T ports plus the ESP protocol in the input chain so the tunnel can establish, especially if either site sits behind another NAT device:
/ip firewall filter add chain=input protocol=udp dst-port=500,4500 action=accept/ip firewall filter add chain=input protocol=ipsec-esp action=acceptThen confirm the tunnel is up:
/ip ipsec active-peers print/ip ipsec policy printA healthy tunnel shows an active peer and a policy whose ph2-state reads established. A quick ping from a host on one LAN to a host on the other proves end-to-end reachability.
Mirror the configuration on Site B
Repeat every step on Site B with the addresses reversed: the peer points at Site A’s public IP, and the policy and NAT bypass use src-address=192.168.20.0/24 and dst-address=192.168.10.0/24. The profile, proposal, identity secret, and IKEv2 mode stay identical. When both sides match, Phase 1 and Phase 2 complete and the tunnel comes up.
Security and operations tips
Keep RouterOS patched — recent releases have shipped fixes touching IPsec/IKEv2 peer-certificate matching, so a tunnel that worked last quarter deserves a re-test after every upgrade. Prefer IKEv2 with PFS over the legacy IKEv1 defaults. Where you can, move from a shared secret to certificate authentication as the number of tunnels grows, because one leaked pre-shared key affects every site that shares it. And log tunnel state somewhere you actually watch: a dead site-to-site link is invisible until someone tries to reach the far LAN and can’t.
On a fleet, an IPsec tunnel that quietly drops after a clock desync or a WAN flap is exactly the kind of failure a customer notices before you do. MKController closes that gap: it watches each router over a secure outbound tunnel that needs no public IP and no port forwarding on the device, keeps versioned config backups so you can diff and restore a working IPsec block after a bad edit, and can open a ticket on a link-down event before the phone rings. For the tunnel configuration itself, our guide on NAT on MikroTik explains the masquerade rule you are bypassing here, and for reaching a single router rather than joining two LANs, see remote management behind CGNAT and our WireGuard remote management walkthrough.
Bring your tunnels under one roof
IPsec joins two sites cleanly, but a growing ISP or MSP soon has dozens of tunnels, keys, and firewall rules to keep in sync — and every manual edit is a chance to lock yourself out of a remote site. MKController is built for exactly that scale: centralized fleet management, secure remote access with no exposed ports, config history and backups, and fleet-wide pushes of firewall and policy changes, so a tunnel template rolls out once instead of being retyped router by router. Operators running MikroTik at scale use it to turn a lost afternoon of per-device SSH into a few clicks per change.