
Tutorial
MikroTik Dual-WAN Failover for ISPs
How to build reliable MikroTik dual-WAN failover for an ISP fleet: recursive routing, Netwatch, per-WAN NAT, switchover timing, and remote verification.
Summary MikroTik dual-WAN failover keeps a site online by automatically moving traffic to a backup uplink when the primary link fails. RouterOS gives you three building blocks — recursive routing with check-gateway, Netwatch, and per-WAN NAT — and the right combination depends on how fast and how smart your detection needs to be. For ISP fleets the harder problem is not the config snippet but confirming, across hundreds of remote sites behind CGNAT, that failover actually worked. This guide covers both.
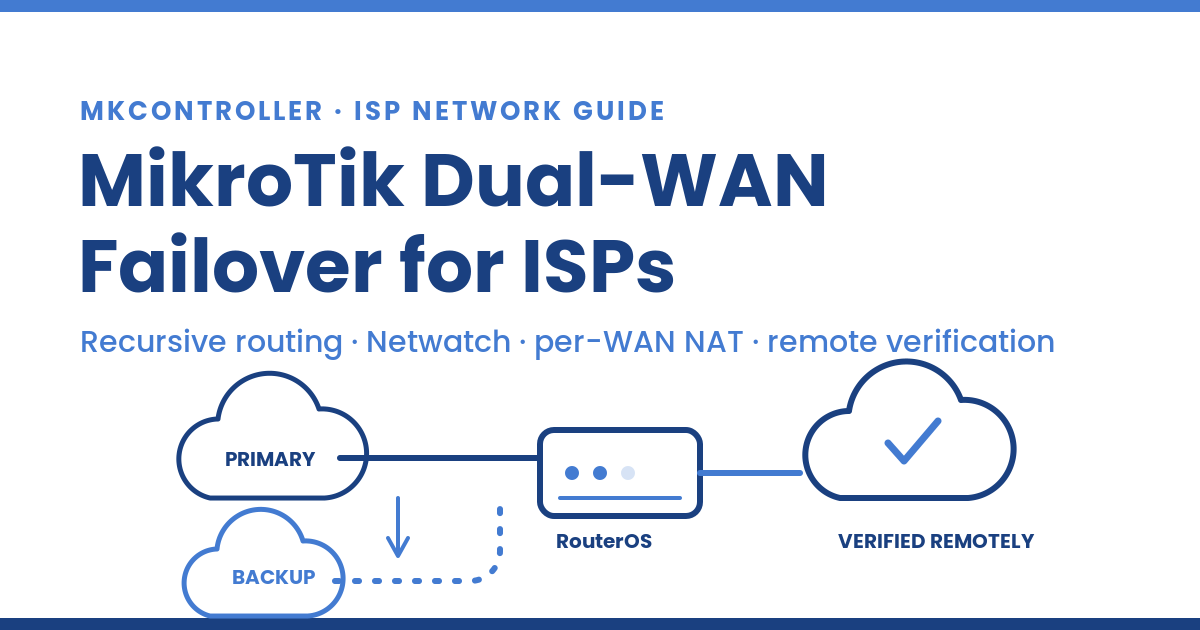
What Is MikroTik Dual-WAN Failover?
MikroTik dual-WAN failover is a RouterOS configuration that gives a router two internet uplinks — a primary and a backup — and automatically shifts traffic to the backup when the primary stops passing packets, then shifts back when it recovers. It is not the same as load balancing: failover keeps one link idle as insurance, while load balancing spreads traffic across both. The goal is continuity, not extra bandwidth, which is why it is the default redundancy pattern for sites that simply cannot go dark.
The mechanism rests on route selection. RouterOS picks the active default route by lowest administrative distance, so you give the primary a smaller distance and the backup a larger one. The whole design then reduces to one question: how does the router decide the primary is “down” and demote its route? Get that decision right — fast enough, but not twitchy — and failover is reliable. Get it wrong and you either fail over too slowly or flap between links on every packet of loss.
Step 1 — Map the two WANs before you touch a route
Start by writing down what each uplink actually is. A fixed fibre or PPPoE primary with a static or PPP-assigned gateway behaves differently from a Starlink or LTE backup that sits behind Carrier-Grade NAT and hands you a dynamic address. This matters because recursive routing only works with stable IP gateways, not with dynamic interface types like PPPoE or DHCP where the address can change (MikroTik Documentation — Failover (WAN Backup)). Decide which link is primary, which is backup, and whether either changes its IP on reconnect — that single fact dictates which detection method you can use.
Step 2 — Add recursive default routes with check-gateway
The classic approach uses recursive routing: instead of pointing the default route directly at a next hop, you point it at a probe target (for example a well-known public resolver) and add a static route telling RouterOS to reach that target only through a specific WAN gateway. You then create two default routes recursively resolved over those targets — the primary with a smaller distance and check-gateway=ping enabled, the backup with a larger distance (Scoop — Basic ISP Failover with MikroTik).
The behaviour to plan around is timing. Check-gateway deactivates a route after two consecutive failed checks, and checks run roughly every 10 seconds, so real switch-over lands around 20 to 30 seconds — and it does not react to intermittent packet loss, only to a fully dead gateway (MikroTik Documentation — Failover (WAN Backup)). For many ISP customer sites that is acceptable. For voice or payment terminals it often is not, which is where Step 4 comes in.
Step 3 — Configure NAT for both uplinks
A dual-WAN router needs a separate masquerade (or src-nat) rule per WAN interface so that whichever link is active translates outbound traffic correctly; a single rule bound to one interface will silently break connectivity the moment failover moves traffic to the other link. Add one masquerade rule in the srcnat chain for the primary out-interface and a second for the backup. If you publish any inbound services, remember that dst-nat rules tied to the primary’s address stop working when that link — and its public IP — disappears. That inbound fragility is the same architectural trap covered in our Starlink IP changes case, and it is why outbound-anchored access scales better than port-forwarding. For the NAT fundamentals, see our guide to configuring NAT on MikroTik.
Step 4 — Use Netwatch when you need faster or smarter detection
When 20–30 seconds is too slow or you need to act on degraded-but-alive links, Netwatch is the more flexible tool. In RouterOS v7, Netwatch gained a type parameter that can probe with icmp, tcp-conn, http-get, https-get, or simple, and you can set your own check interval rather than living with check-gateway’s fixed cadence (MikroTik Documentation — Failover (WAN Backup)). Each host has an up and a down script, so you can disable the primary default route, raise an alert, or log the event on transition.
Many operators combine the two: recursive routing handles clean link death, while Netwatch covers the messier cases and sends notifications. A long-running community thread debates exactly this trade-off and is worth reading before you standardise on one method across a fleet (MikroTik forum — netwatch instead of recursive routing). Whichever you choose, keep the config identical on every site — a fleet of bespoke failover scripts is its own outage waiting to happen.
Step 5 — Verify failover on every remote site
Here is the part the config tutorials skip. Adding the routes on one bench router is easy; proving that failover works on hundreds of deployed CPEs is the real ISP problem — and it gets harder when the backup link is Starlink or LTE behind CGNAT, because the device often has no reachable public IP to manage it through after it fails over. If you can only confirm failover by waiting for a customer to call, you do not really have failover; you have a script you hope runs.
This is where centralised management changes the economics. MKController keeps each router reachable through an authenticated outbound tunnel, so you can confirm the backup path is carrying traffic, watch the failover transition in monitoring, and push a corrected config — without depending on a public IP that may not exist on the backup link. Pair that with telemetry: our guides on monitoring MikroTik remotely with Zabbix and SNMP monitoring for MikroTik show how to alert on the failover event itself, so a silent switch to the expensive backup link never goes unnoticed.
Tips
- Keep the backup link’s
check-gatewayprobe pointed at a target you reach through that link, not through the primary, or your test is meaningless. - Tag failover transitions in your monitoring so a site running for days on its backup uplink raises a ticket — failover that no one notices is a recurring cost, not a save.
- Test the actual cable, not just the route: pull the primary’s connector and time the real switch-over.
Bring failover under one control plane
Dual-WAN failover on a single MikroTik is a solved problem. Doing it reliably across a fleet — with consistent config and the ability to prove the backup works on a router you cannot reach by public IP — is where most operators lose money. Centralised, outbound-anchored management closes that gap.