
Tutorial
MikroTik HotSpot Vouchers with User Manager
How to set up a MikroTik HotSpot with User Manager vouchers: captive portal, RADIUS, plans and limitations, batch voucher printing, and multi-site control.
Summary A MikroTik HotSpot with User Manager turns any RouterOS device into a voucher-based WiFi system: guests hit a captive portal, enter a printed code, and receive exactly the speed, data, and time the plan allows. Everything runs on the router — no external server. The setup is a short chain: HotSpot wizard, User Manager as RADIUS, plans, and printable vouchers. The real work starts when you run it across more than one location; this guide covers both.
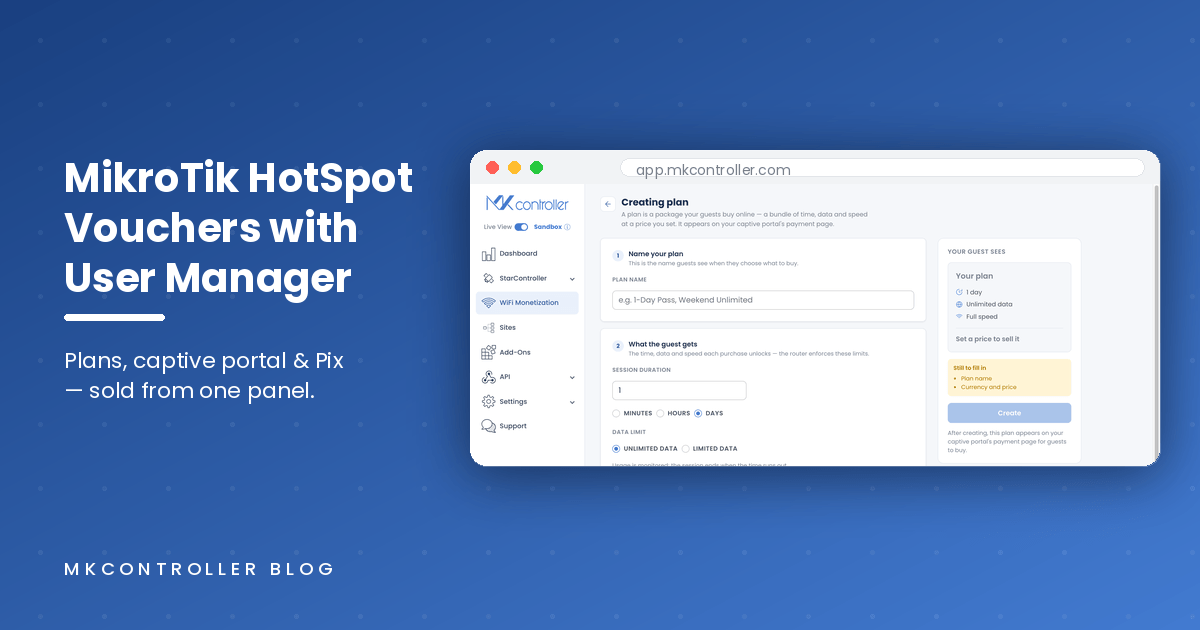
What Is a MikroTik HotSpot Voucher?
A MikroTik HotSpot voucher is a single-use access credential — usually a printed card with a code — that a guest enters on the router’s captive portal to get online with a preset speed, data cap, and expiry. The portal side is RouterOS HotSpot; the credential side is User Manager, MikroTik’s built-in RADIUS server, which authenticates each code and enforces the plan behind it (MikroTik Documentation — User Manager). Together they are the standard way hotels, cafés, condominiums, and WISPs sell or ration WiFi without any external billing system (Emmanuel Corels — User Manager for HotSpot voucher systems).
The appeal is accountability with zero client setup: every voucher is an individual credential, so one guest cannot share a code across ten devices, a prepaid plan dies on schedule, and nobody touches the guest’s phone settings. Sell the code, and the router does the rest.
Step 1 — Run the HotSpot setup wizard
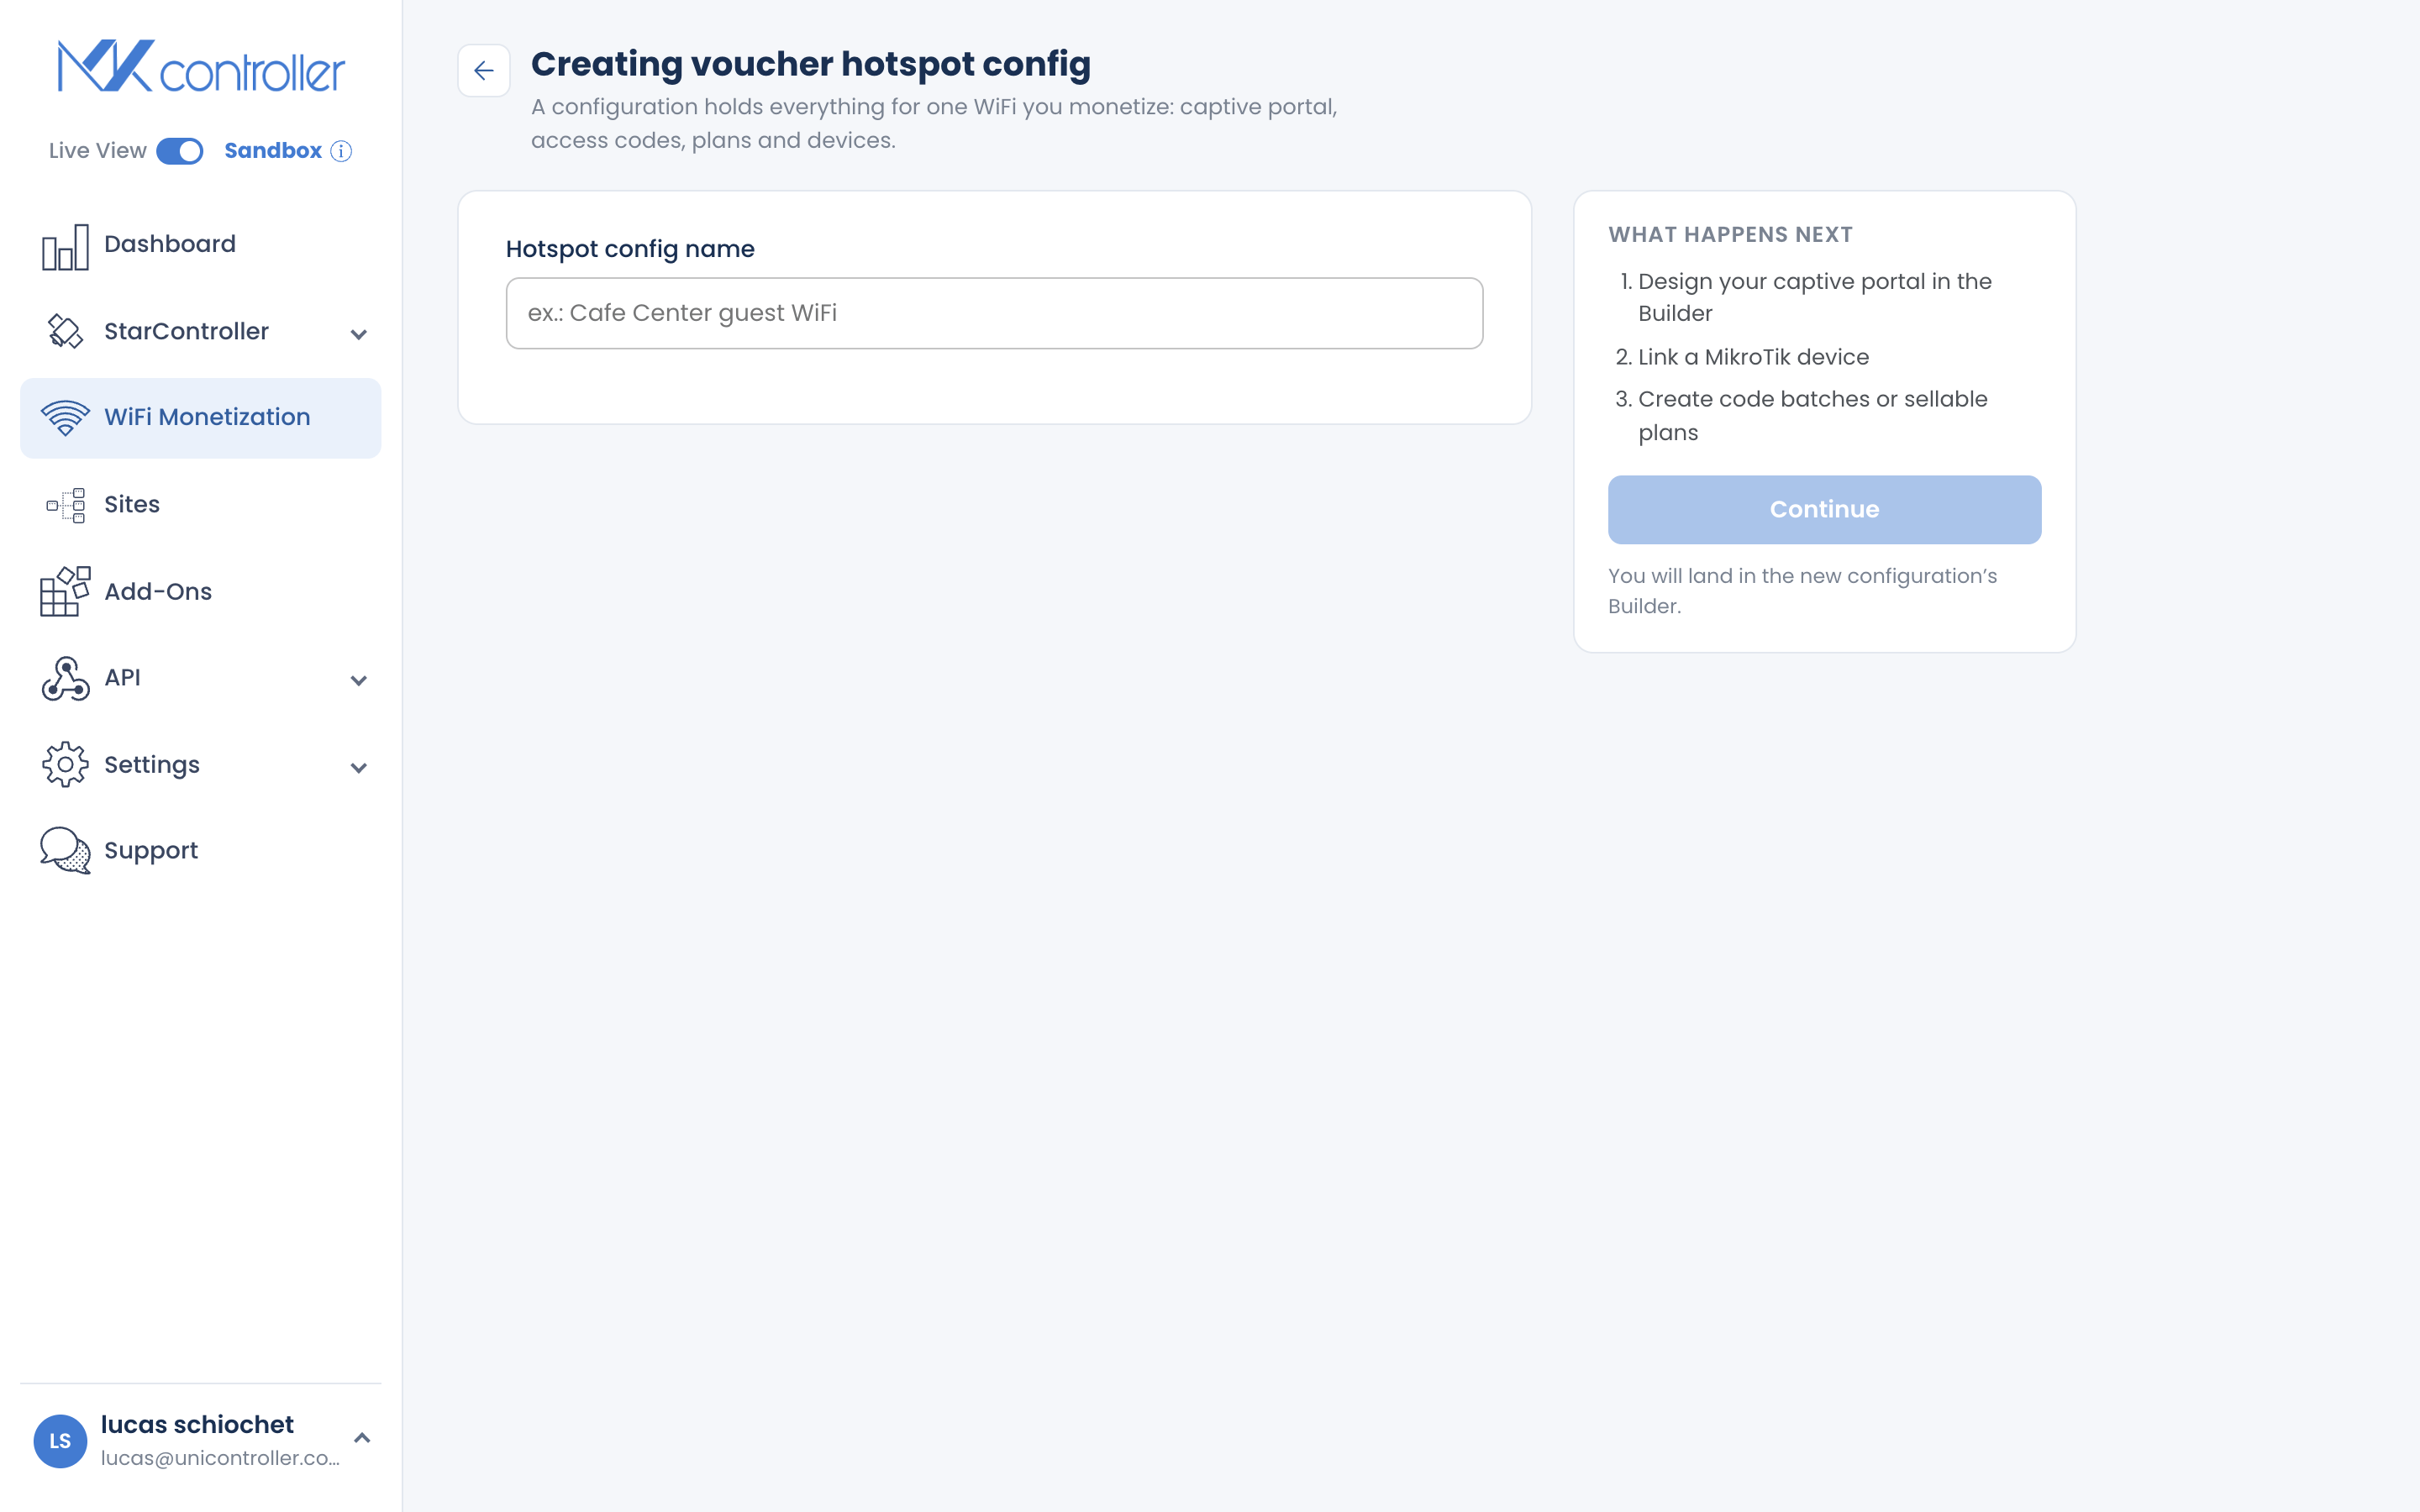
Start on the interface that will serve guests — ideally a dedicated bridge or VLAN, never the same segment as your management network. In WinBox, go to IP → Hotspot → Hotspot Setup, pick the guest interface, and accept or adjust the address pool, DNS, and SSL prompts; the wizard builds the DHCP server, NAT rule, and captive portal in one pass, typically in a few minutes (madankc — MikroTik Hotspot Setup Step by Step).
The wizard’s output is a HotSpot server bound to the interface plus a server profile that controls how guests authenticate. Test it immediately: connect a phone to the guest network and confirm the login page appears. If the portal will not load, work through our fix list for the 10.5.50.1 HotSpot gateway before layering vouchers on top.
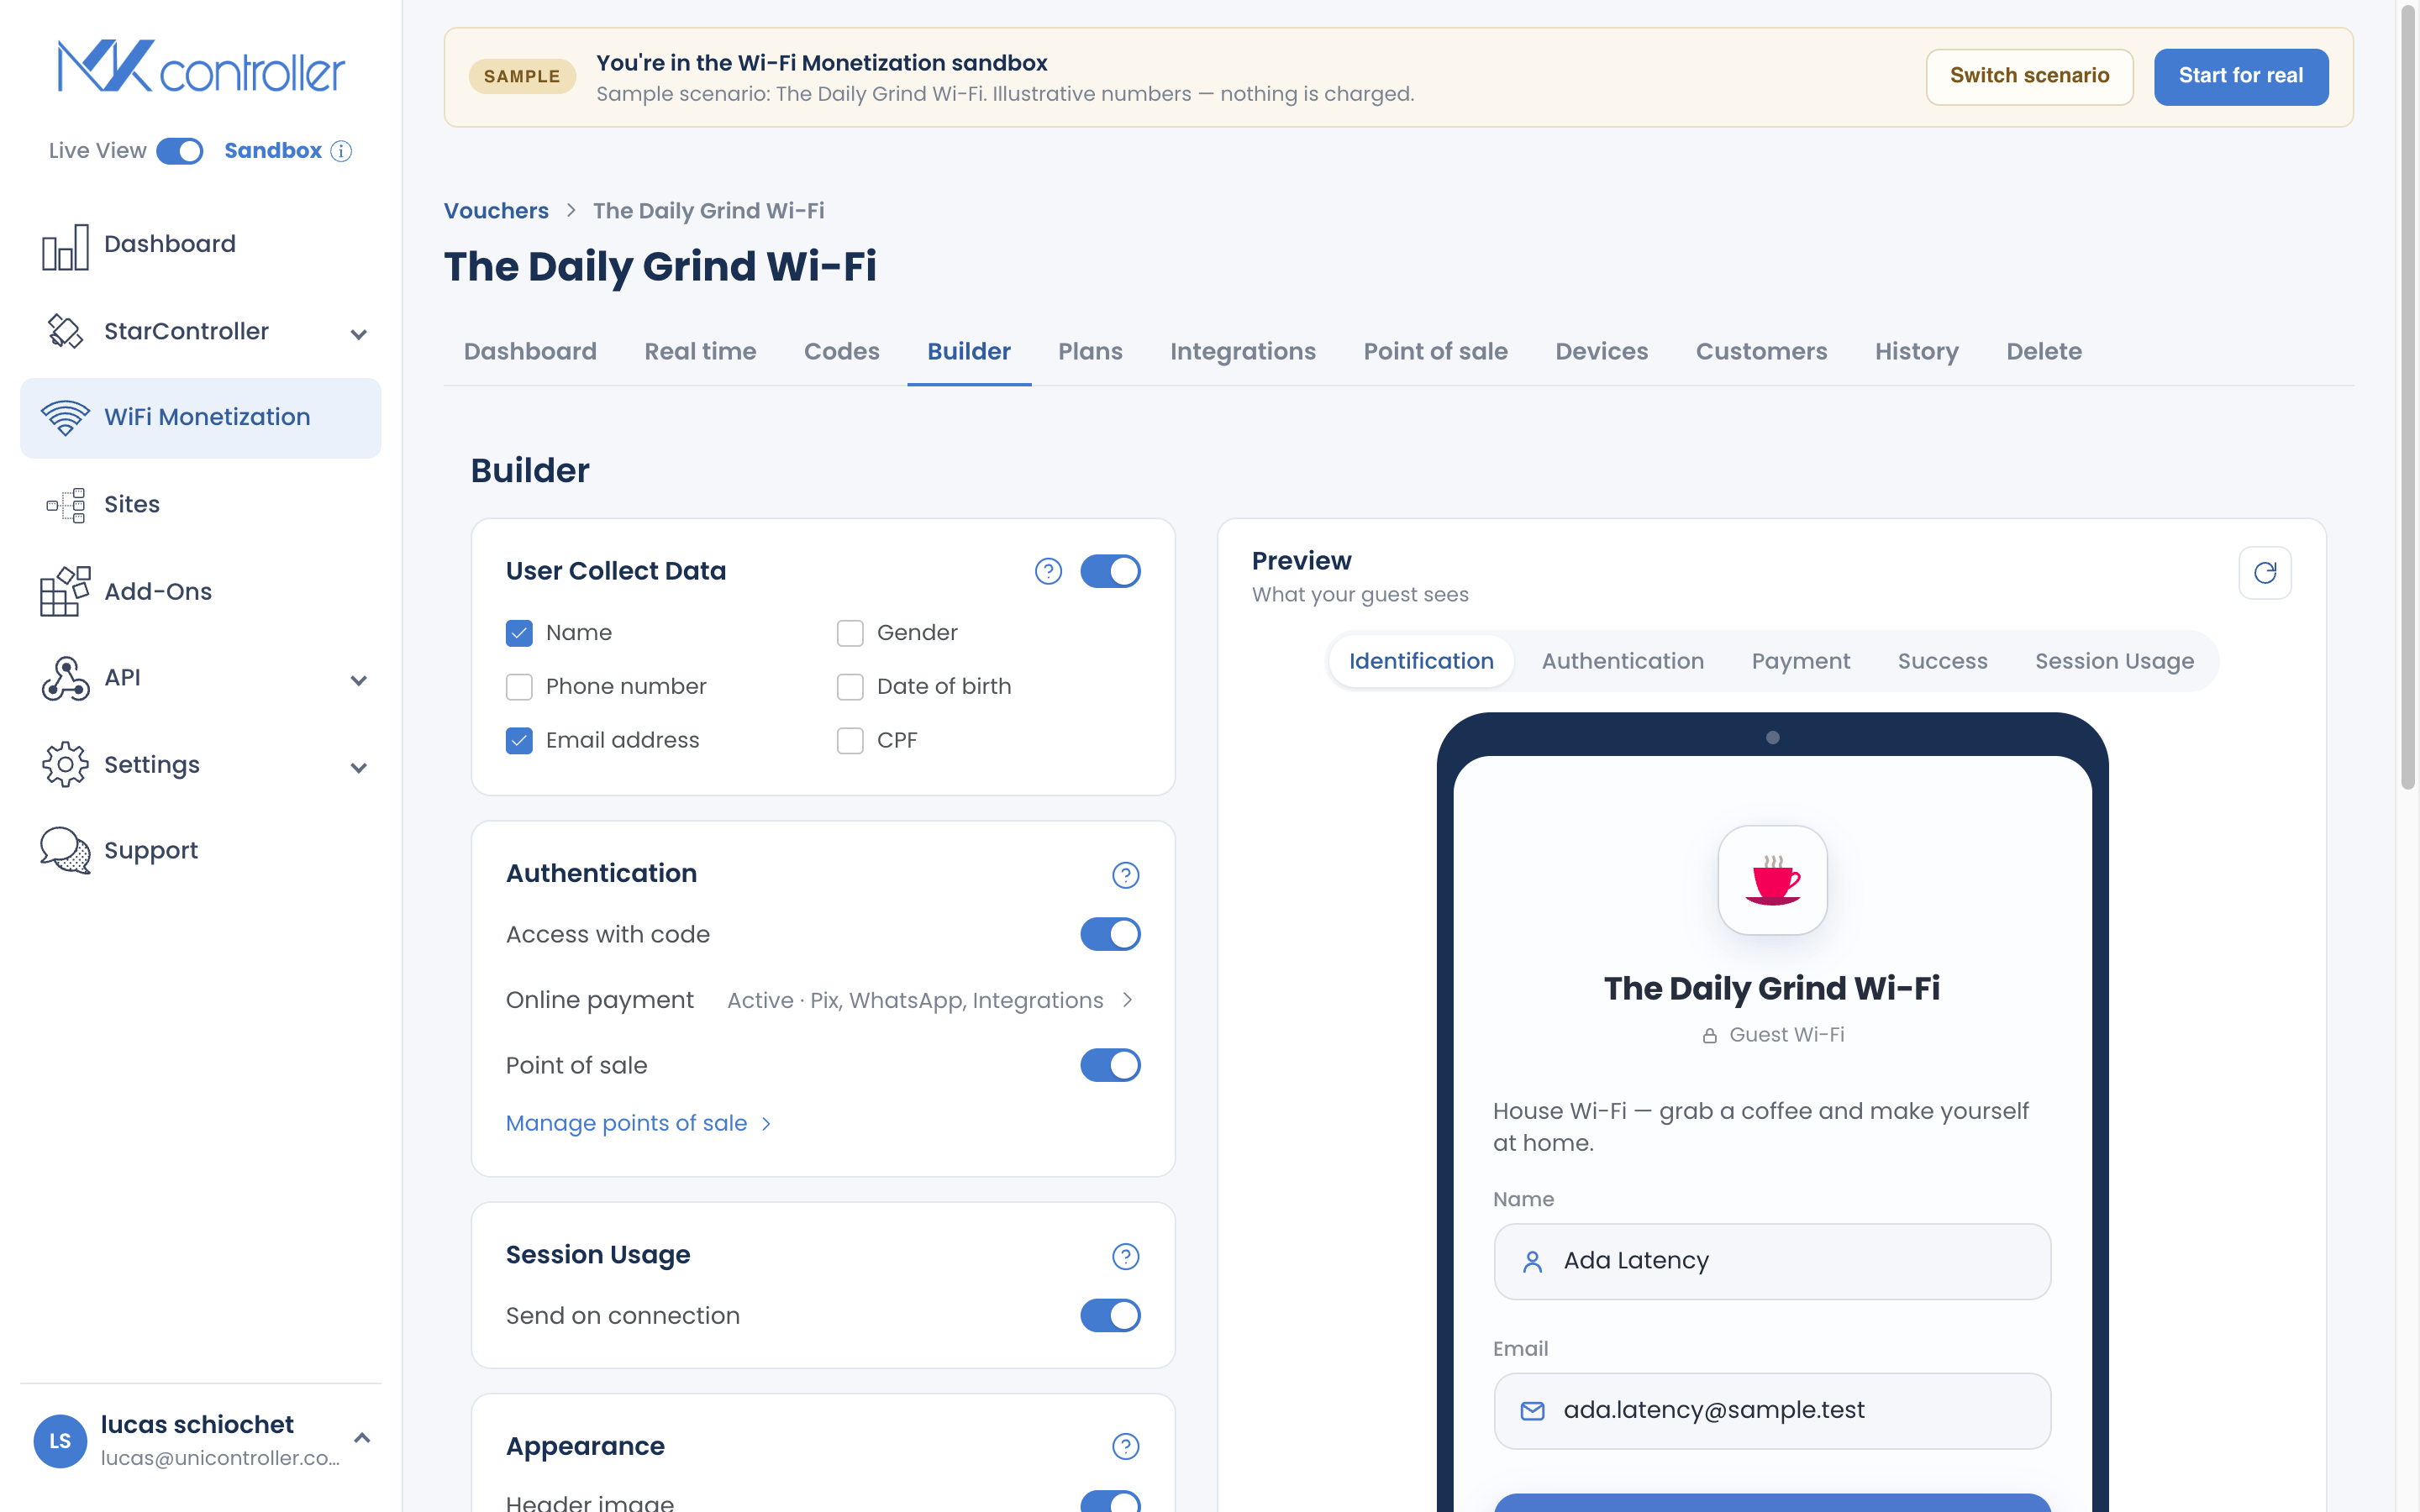
Step 2 — Enable User Manager as the RADIUS backend
Local HotSpot users work for a handful of accounts, but vouchers need User Manager. Install the user-manager package for your RouterOS v7 version, reboot, then enable it with /user-manager set enabled=yes. Register the router itself as a RADIUS client — /user-manager router add name=local address=127.0.0.1 shared-secret=<secret> — and mirror that on the RADIUS side with /radius add service=hotspot address=127.0.0.1 secret=<secret> (MikroTik Documentation — User Manager).
Finally, edit the HotSpot server profile and enable use-radius=yes so the portal forwards logins to User Manager instead of the local user list. From this point, every code a guest types is checked by RADIUS — the same architecture ISPs use for PPPoE subscriber authentication, just aimed at WiFi guests.
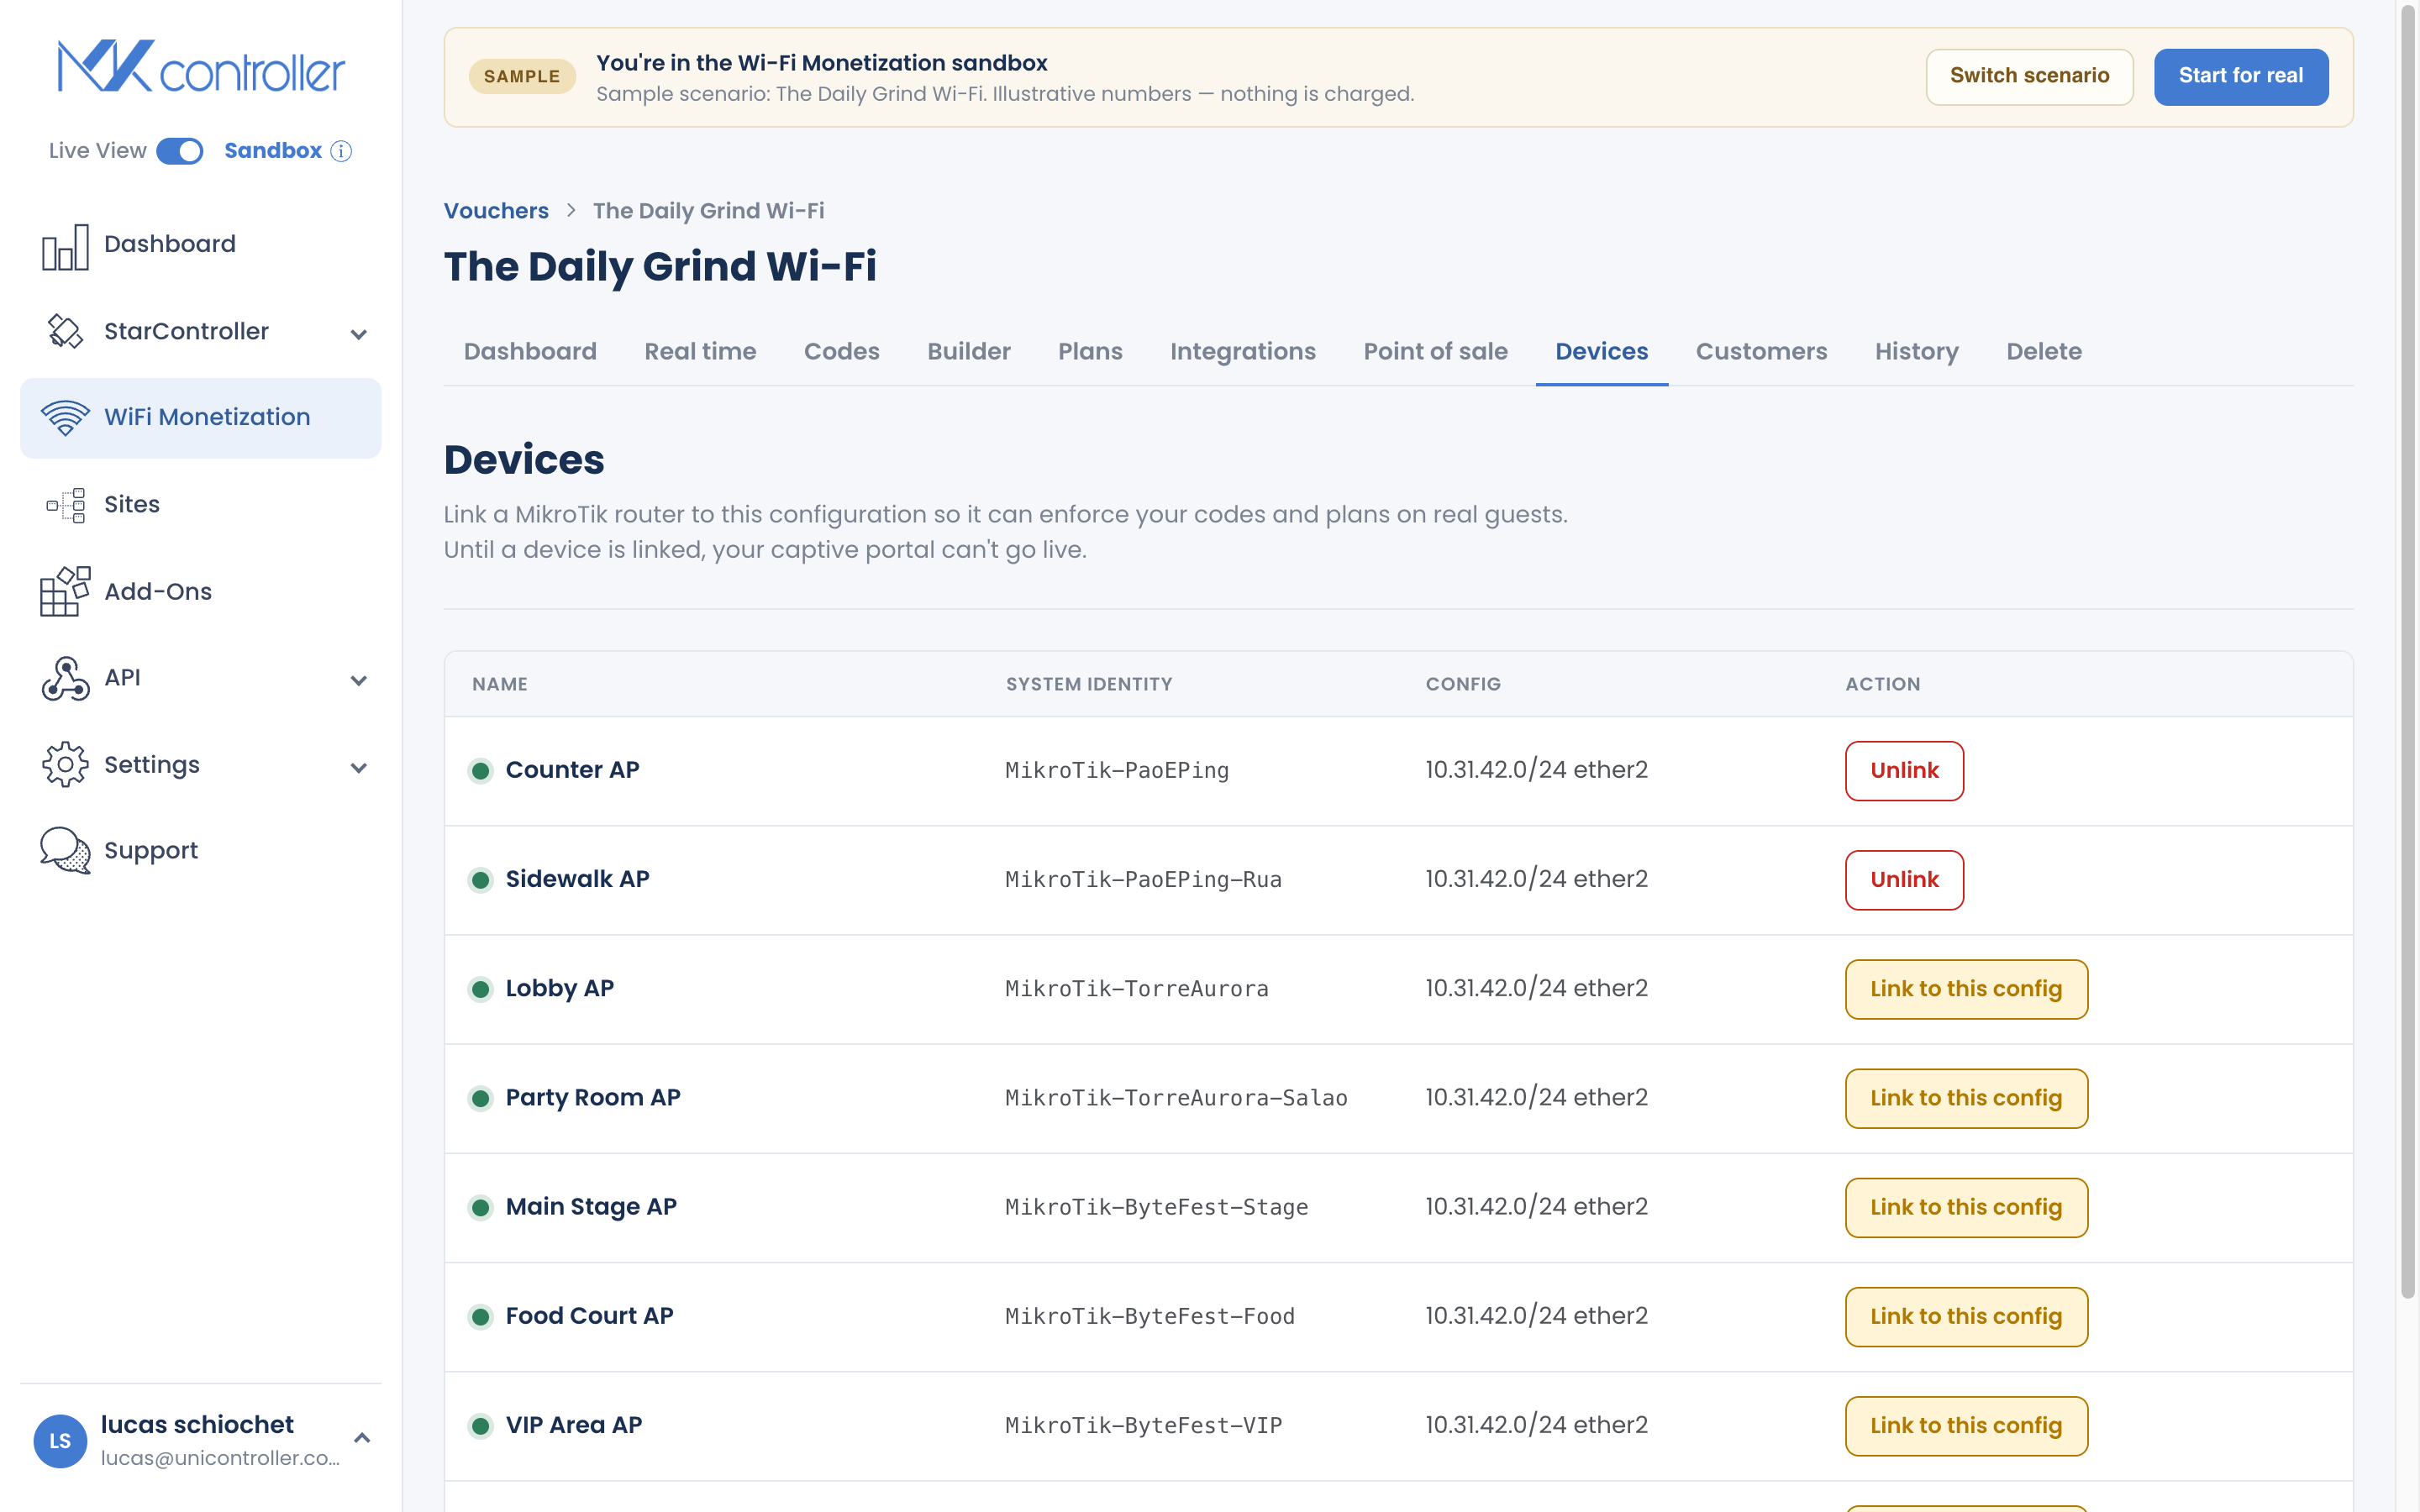
Step 3 — Create plans: limitations and profiles
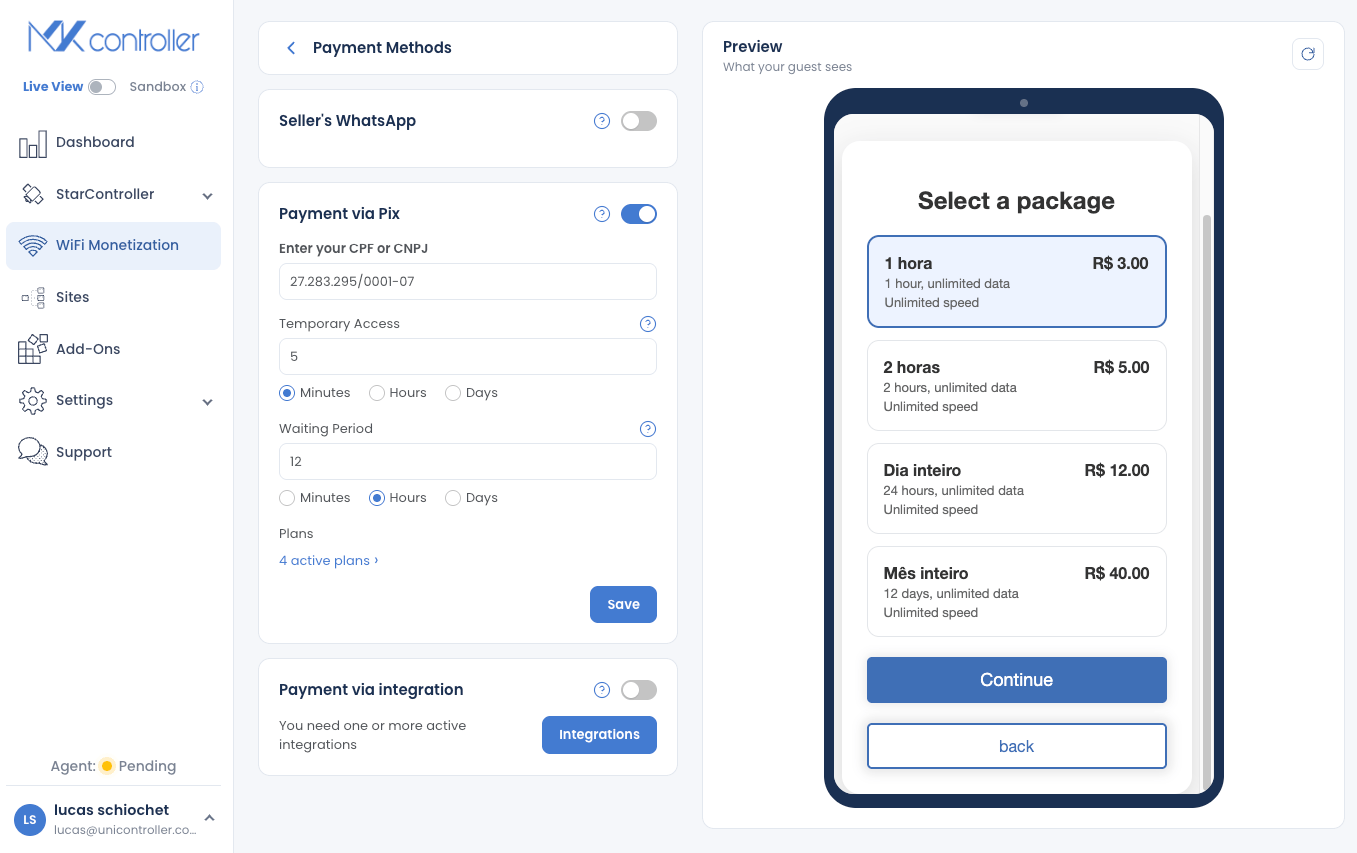
A selling plan in User Manager is two objects. A limitation defines what the guest gets — rate-limit for speed, download-limit and upload-limit for data caps, uptime-limit for connection time. A profile wraps one or more limitations and adds validity — how long the voucher lives once first used. Create one profile per product: “1 Hour Free”, “24h — 10 Mbps”, “Weekly — 5 GB” (MikroTik Documentation — User Manager).
Define plans once and resist per-site improvisation. When each location’s operator hand-edits limitations, the same “24h” voucher quietly means different things in different venues — the kind of drift that only shows up as a one-star review. Keeping profiles identical across routers is precisely the fleet problem MKController’s configuration audit and history solve: see what changed, where, and push the corrected profile everywhere at once.
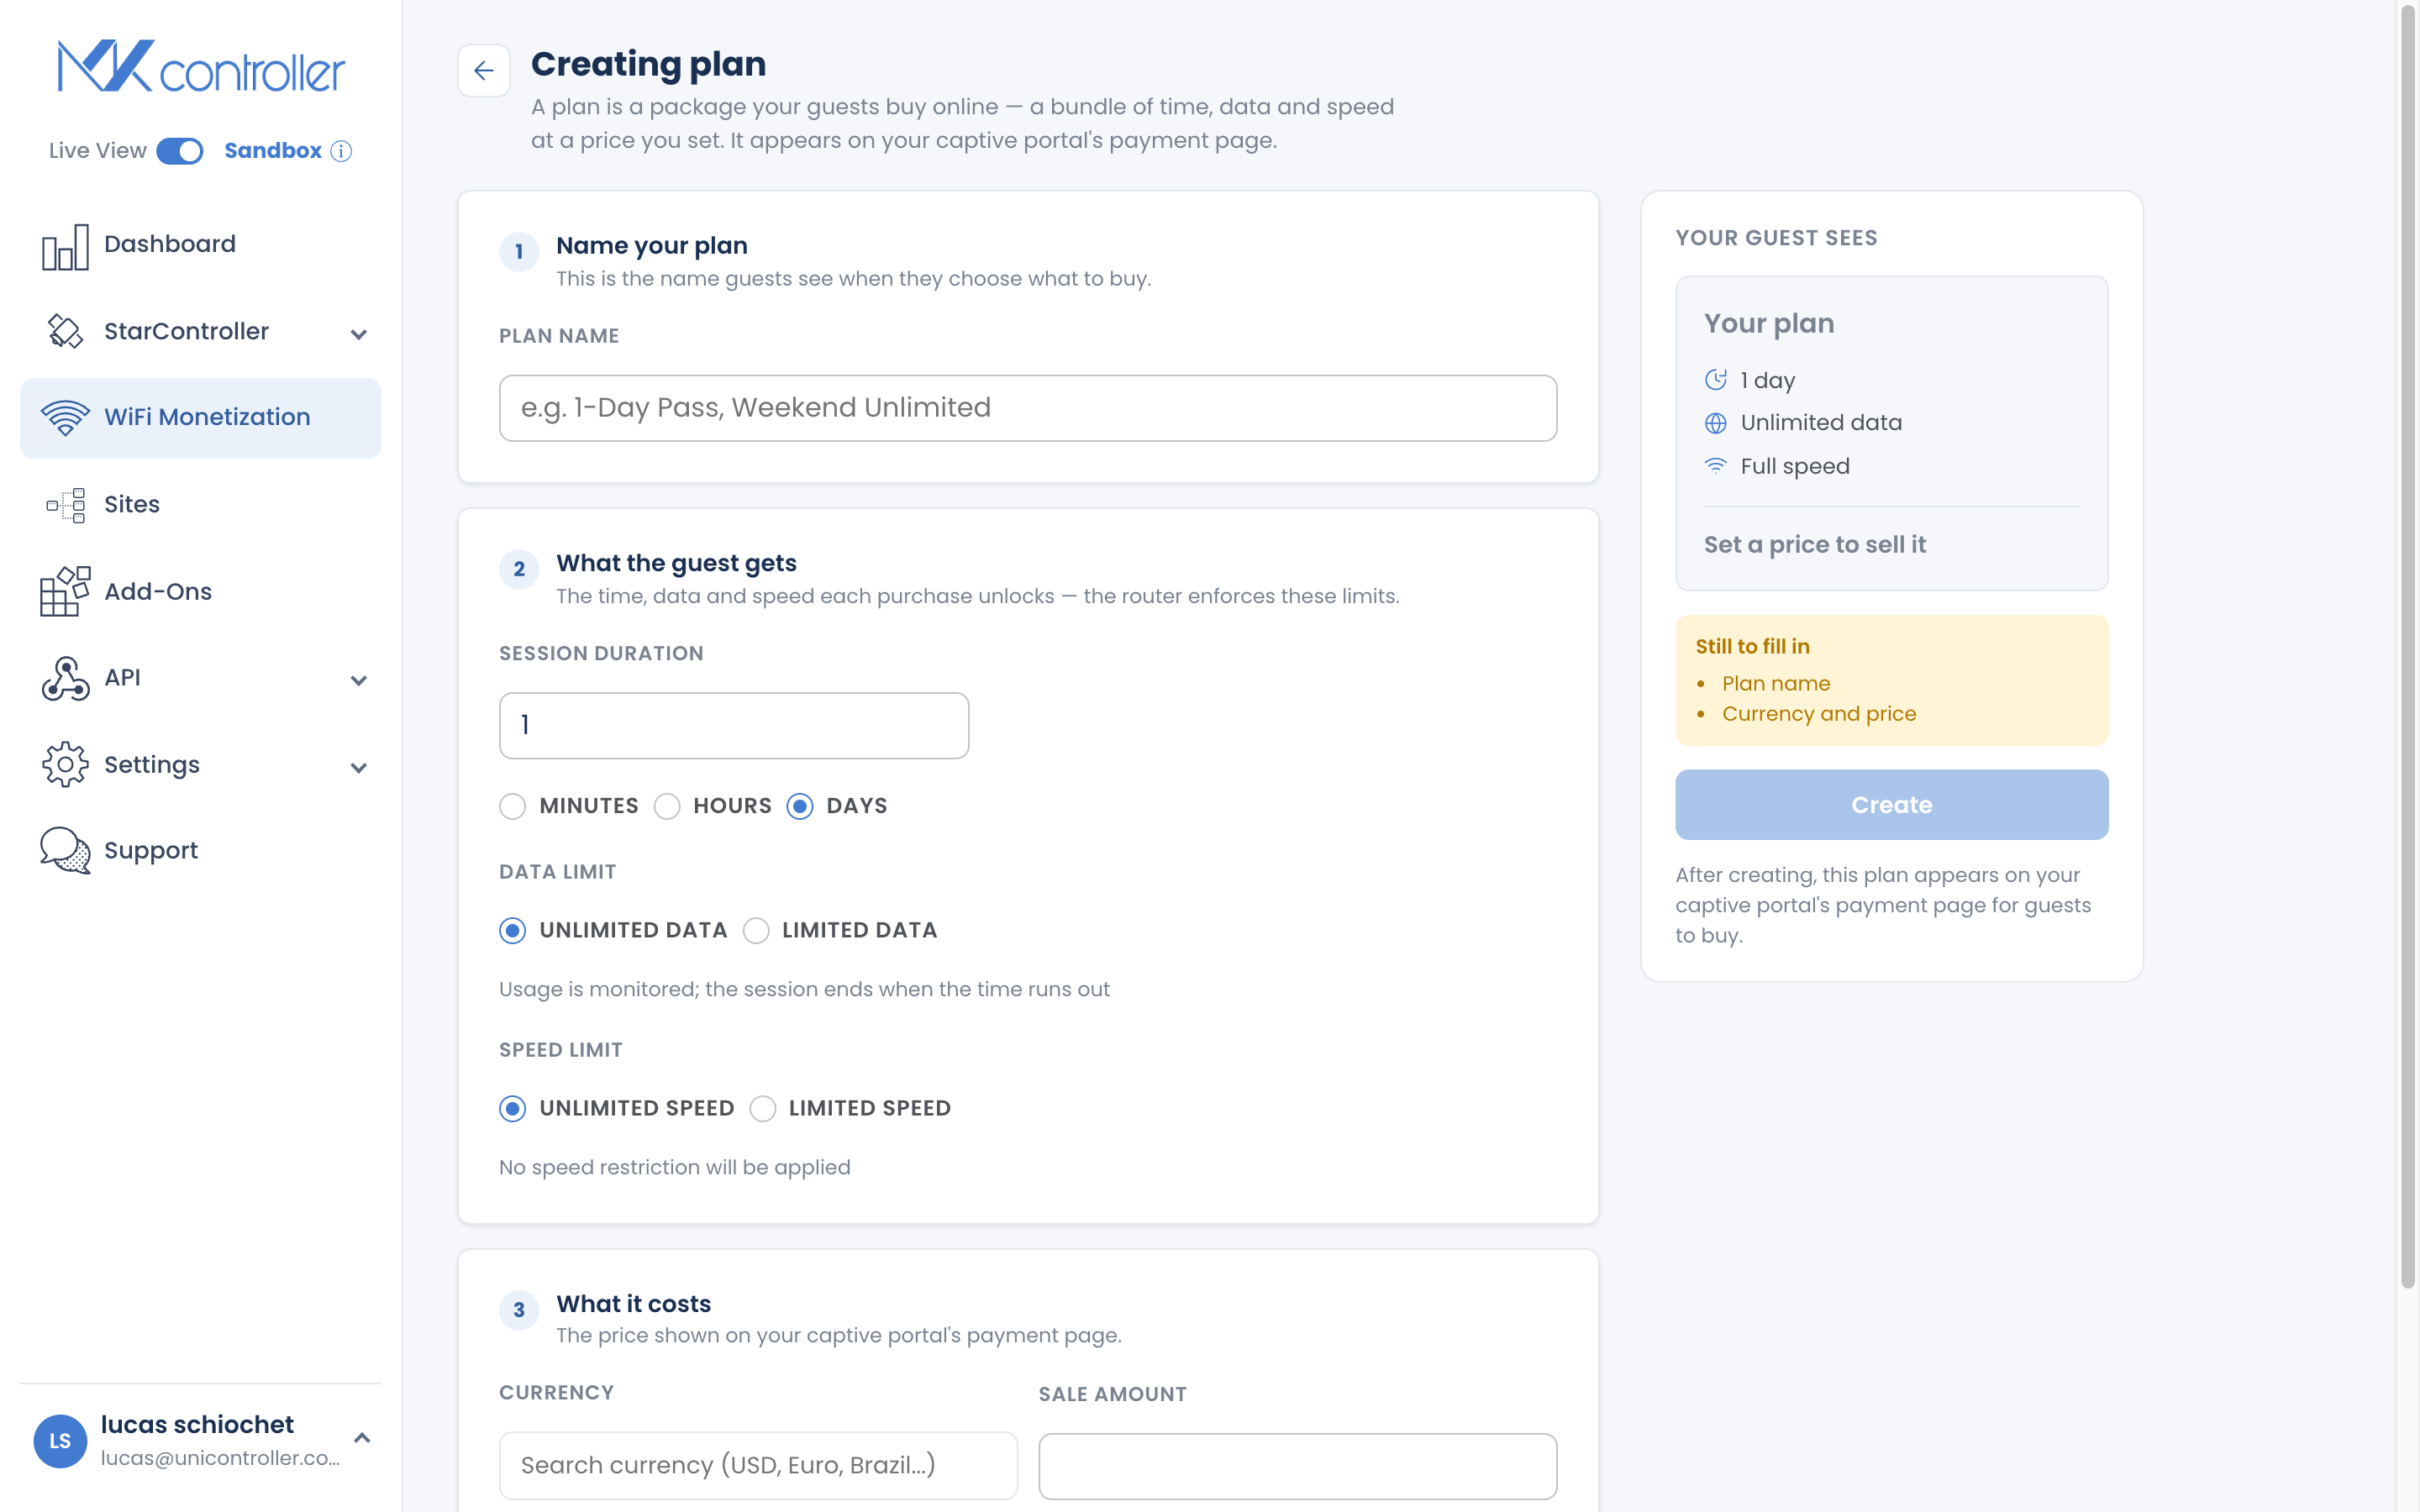
Step 4 — Batch-generate users and print vouchers
Now mint the product. Create users in bulk and attach the plan’s profile — each user is one voucher code. Then produce the printable cards with the generate-voucher command, pointing it at a user ID or a find query; User Manager fills a voucher template with the code, plan, and validity, ready to print and sell at the counter (MikroTik Documentation — User Manager).
On one router this is a pleasant Friday task. Across a dozen venues it becomes a rotation of Winbox sessions — generating stock, checking what sold, disabling leaked codes — which is why operators bolt on local tools like Mikhmon, or go cloud with MKController’s voucher and HotSpot control to generate, track, and revoke vouchers for every site from one panel. Our Mikhmon vs MKController comparison walks through that trade-off in detail.
Step 5 — Lock down the guest network
A captive portal is a public doorway on your router, so treat it that way. Add firewall rules that block the HotSpot subnet from reaching your LAN and, above all, the router’s own management services — Winbox, API, WebFig, SSH — from the guest side. Keep the walled garden minimal: every host you whitelist is reachable without a voucher.
Guests are strangers by definition, and a compromised guest device sits one hop from your router. A voucher network that can reach the config that created it is a standing invitation.
Step 6 — Run vouchers across every location
Here is what single-router tutorials skip: the venue on LTE or Starlink behind Carrier-Grade NAT has no public IP, so when its portal misbehaves you cannot simply dial in. MKController keeps each router reachable over a secure outbound tunnel — no port forwarding, no public address needed, as covered in our guide to MikroTik remote management behind CGNAT — with automatic backups and telemetry that flags a dead portal before the front desk starts fielding complaints.
Verify each site the same way: connect as a guest, burn a test voucher, confirm the speed and expiry match the plan.
Tips
- Keep voucher usernames short and unambiguous — avoid
0/Oand1/l/I— since guests type them on phone keyboards. - Set profile validity from first login, not creation, so printed stock does not expire in the drawer.
- Never sell from your last batch: generate stock ahead of demand, and disable unsold codes from any batch that leaks.
- Watch router memory on large user databases; User Manager stores accounting data on the device.
Sell WiFi, not support tickets
A voucher HotSpot on one MikroTik is an afternoon project. Running it as a business across many venues — identical plans on every router, voucher stock generated and revoked centrally, portals reachable even behind CGNAT, backups taken before every change — is where operators either lose their evenings or centralize. MKController gives you that control plane: fleet-wide HotSpot and voucher management, secure outbound remote access with no public IP, config history and one-click restore, and monitoring that opens a ticket before a guest notices the WiFi is down. Operators running paid WiFi on MikroTik use it to make ten venues as easy as one.