Content Filter at MKController
Summary
Protect your and/or your customer network from unwanted or malicious sites by enabling and configuring the DNS Content Filter in MKController. A great combination to our Hotspot and Voucher Solution, guarantees that people using your network do not browse in unwanted content. Requires an adopted Mikrotik device connected to the platform.
Why Use DNS Content Filter?
The DNS Content Filter allows you to block access to inappropriate, unsafe, or non-work-related content directly at the DNS level. Instead of managing lists manually, MKController centralizes everything in a simple interface.
Benefits include:
- Protecting children, employees, and customers from harmful sites
- Blocking adult content, gambling, or social media on work networks
- Improving productivity and security
- Applying rules per site, client, or branch
What is a DNS Content Filter?
Imagine the internet as a vast library with millions of books (websites). When you look for a specific book, you use a catalog - the DNS - to find its exact location on the shelves. A DNS content filter works like a librarian who decides which books you’re allowed to borrow. It checks the titles of the books you request and, if they’re on the banned list, it prevents you from finding them.
How does it work in practice?
The Domain Name System (DNS) is responsible for translating user-friendly website addresses (such as www.example.com) into numerical addresses (IPs) that computers understand. A content filter at the DNS level intercepts these requests and compares them against a list of blocked websites. If the site is on the list, the filter returns an error message, preventing you from accessing the content.
Configuring your Content Filter
Step 0: Access Content Filter menu
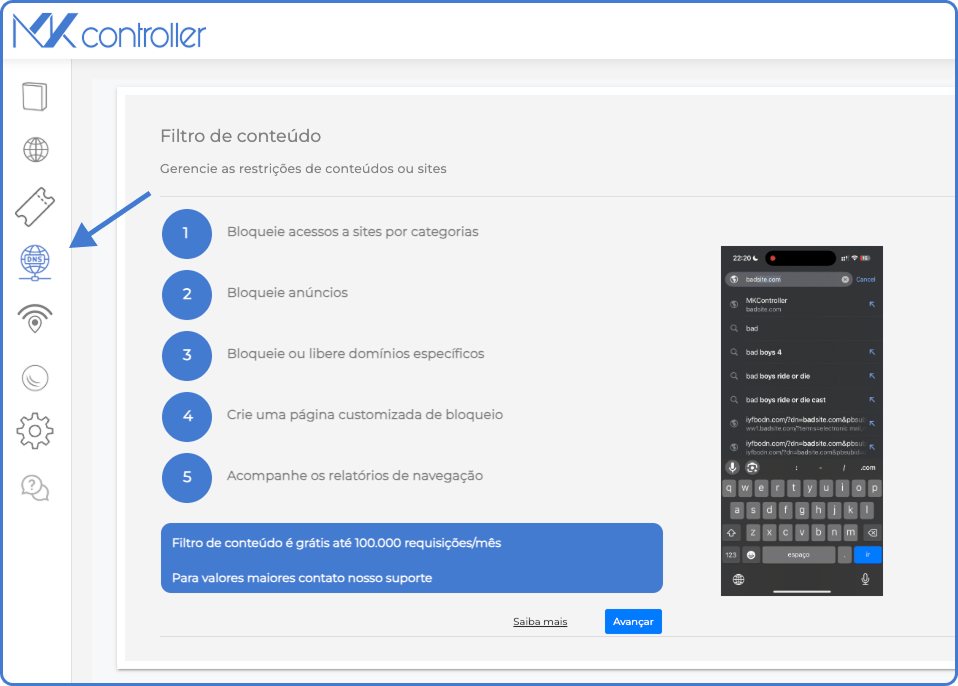
Just Log in to your MKController Console, and select the DNS symbol on the left menu.
If this is your first time, you will see a nice summary of everything you can do with this incredible feature. Just click on Next and let’s start.
Step 1: Creating your Filter
It’s importante to address that you can create as many filter as you want. MKController charges for the number of requests made.
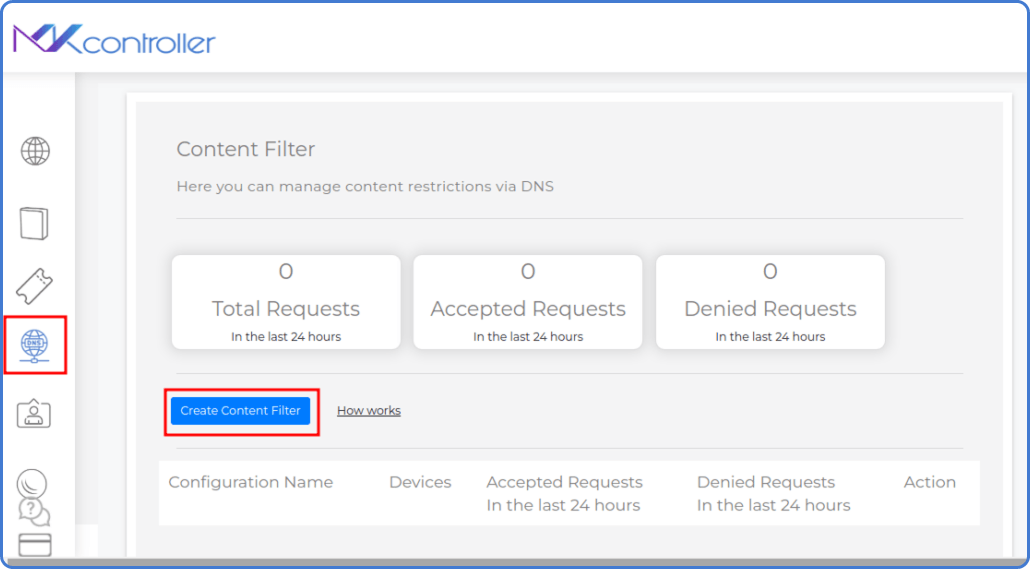
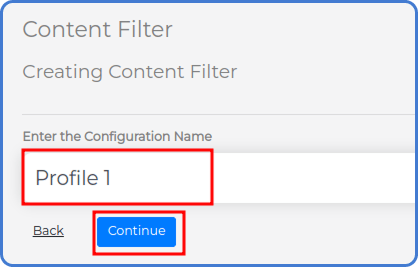
On the Content Filter Menu, click on Create Content Filter, and in the next screen, choose a name for this filter - you can use the name of a customer, the end goal of this filter and more.
Step 2: Choosing the Filtering Level
Select one of the predefined protection levels:
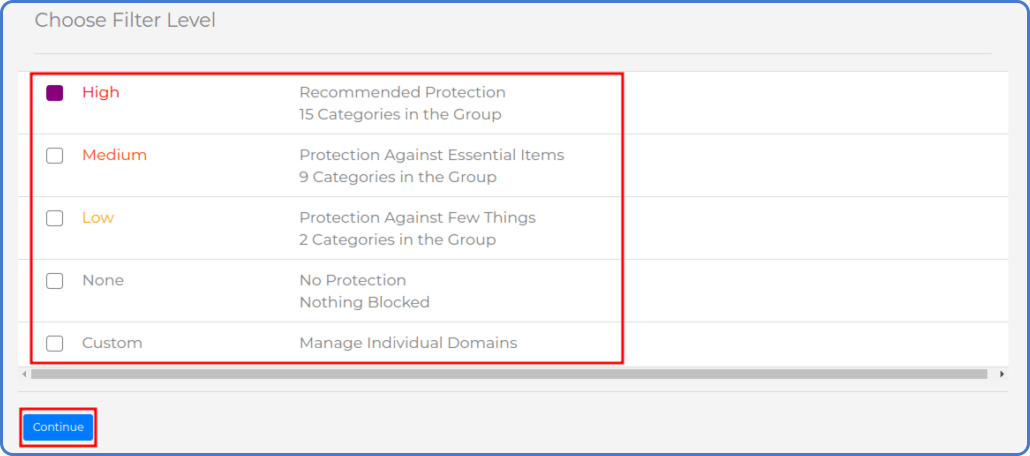
High – Recommended protection, 15 categories pre‑selected.
Medium – Blocks 9 essential categories.
Low – Basic protection with 2 categories.
None – No blocking.
Custom – Manually choose which categories to block.
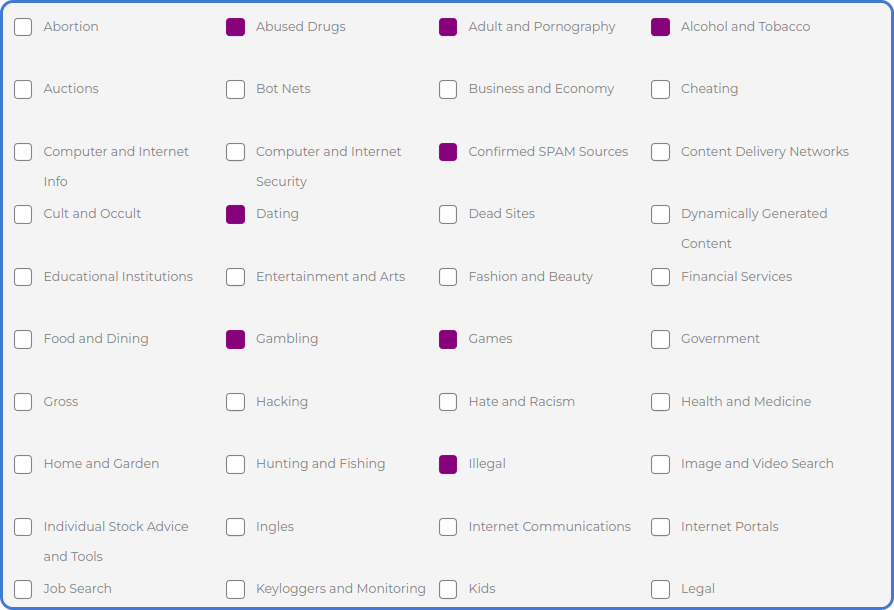
Click Continue to proceed. You can scroll down to review all available categories before confirmin or choosing which you want to block in case of a Custom protection level:
Step 3: Linking to a Device
As soon as you finish the last step, please select the Devices option, on the left menu, then click the “Link” button to connect the hotspot to a specific MikroTik device.
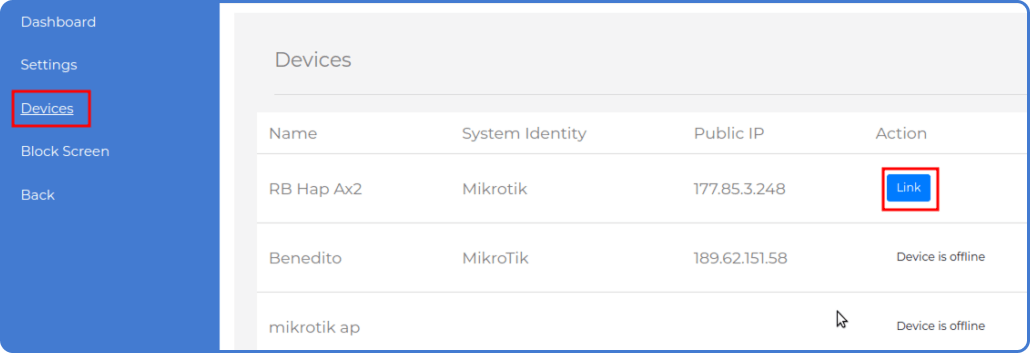
This guarantees that, among all your Mikrotik you manage, only certain ones will be using this specific content filter.
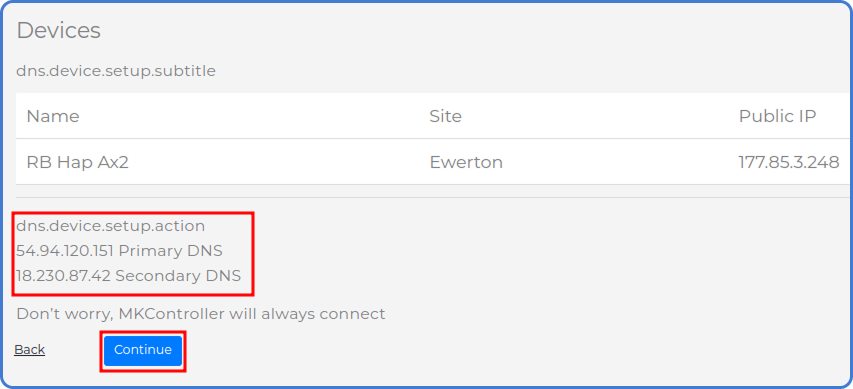
The system will display the primary and secondary DNS IP addresses required for filtering. Apply these to the MikroTik device.
Click Continue and wait for the success message. Then confirm with OK.
Creating a Block Page
You can customize the block page shown when a site is denied:
Enable Top Image and upload a custom image.
Enable Text and type a message to be displayed.
Step 1: Creating a Block Screen
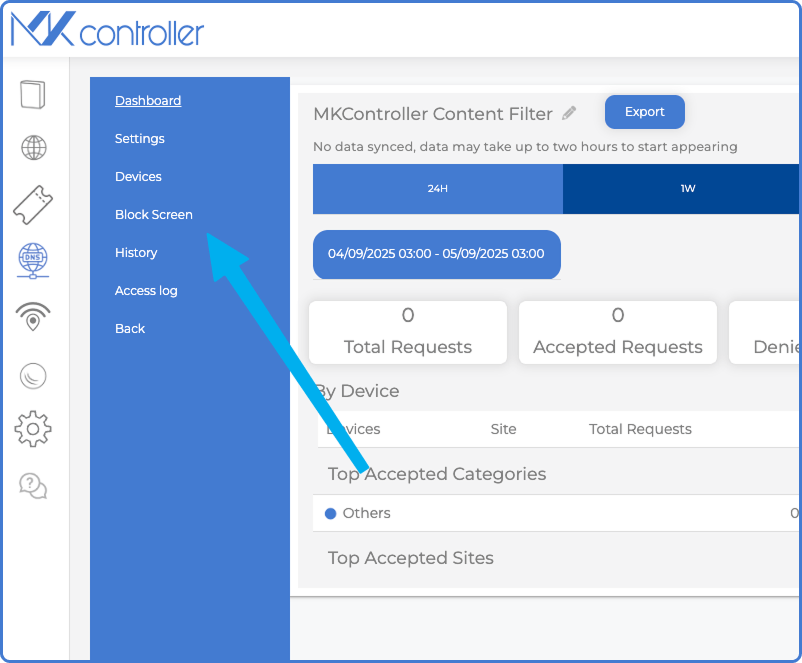
Again, on the left menu, choose the option Block Screen.
Step 2: Customizing the Block Screen
Now, it’s just about creativity!
Check the Header Image and Welcome Text, and customize them with your logo or of your customer, and a nice message.
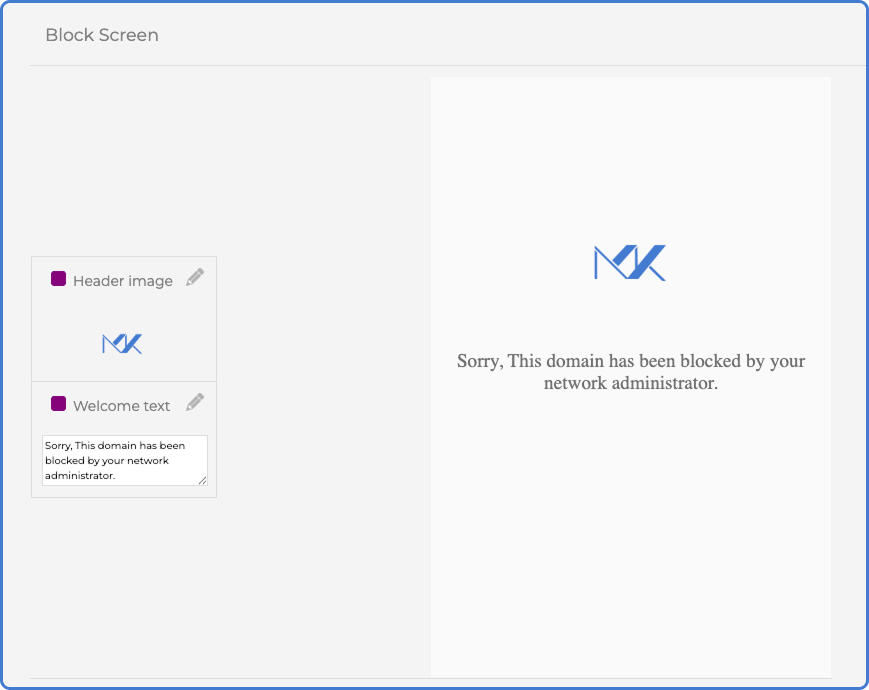
You can check a preview of what a user will see everytime he access block site on your network.
Other Configurations
On the Settings option, in the left Content Filter menu, you can find a lot of nice configurations to make, to enrich the overall experience of your customers.
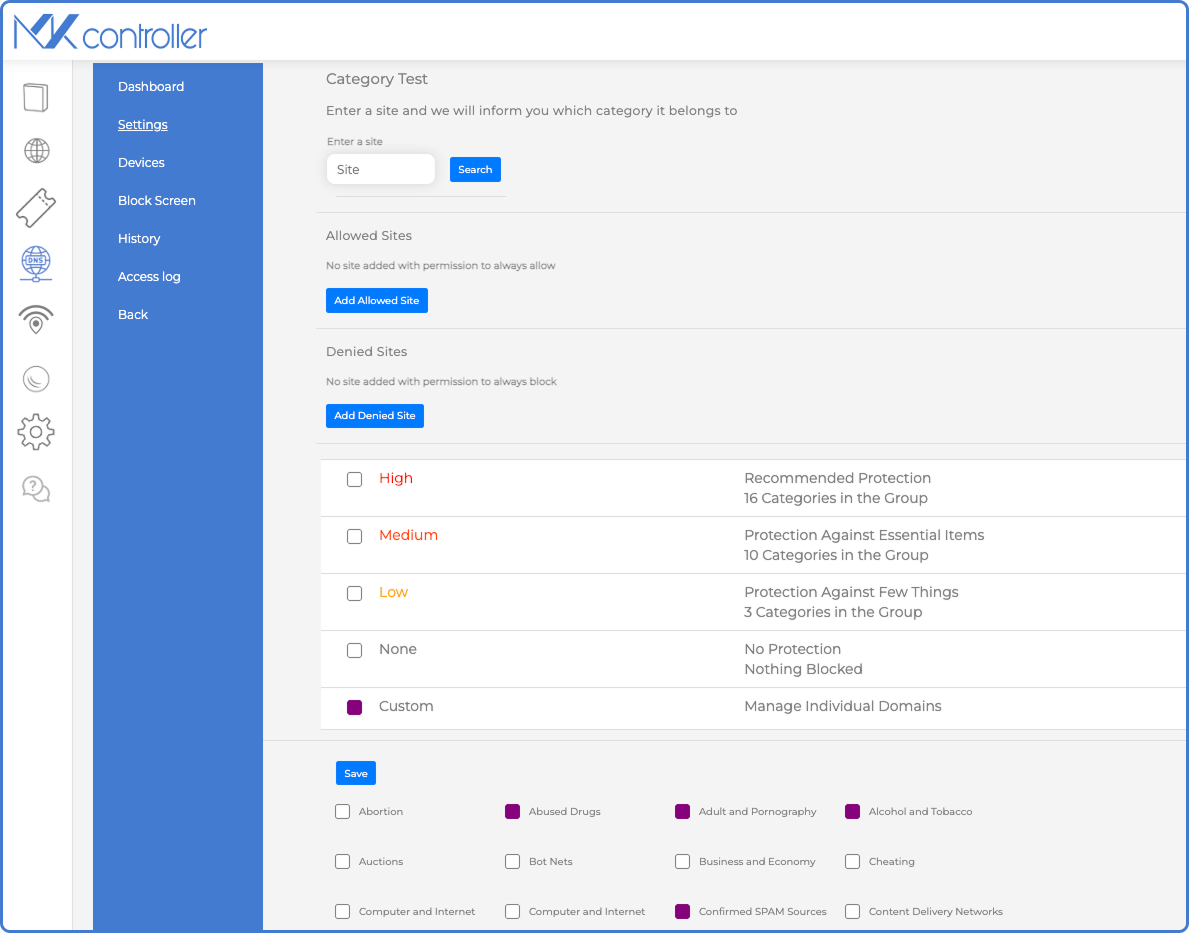
Within Settings, you can:
Category Test – Enter a URL and check which category it belongs to.
Allowed Sites – Add sites that bypass filtering regardless.
Denied Sites – Explicitly block certain sites, to be sure that they will be blocked in spite of the category chosen.
Adjust Categories – Change filter level or customize by category.
Conclusion
With the DNS Content Filter on MKController, you gain centralized control over which types of content are allowed or denied across your network. This improves safety, productivity, and user experience without needing manual configuration on each Mikrotik.
Did you not find the information you were looking for? Do you have other questions? Do you want to help us improve the material? Do not hesitate to contact us and seek support from MKController! Click here for any questions.