
Manage Multiple Sites on MKController
Summary MKController Sites are logical groupings that let you organize MikroTik devices by client, location, or network segment — each with independent configuration, user access controls, and alert settings. This guide explains how to create Sites, why they matter for ISPs and MSPs managing distributed networks, and how to transfer a device from one Site to another.
What Are MKController Sites?
Section titled “What Are MKController Sites?”MKController Sites are organizational containers for MikroTik devices. Each Site can hold any number of adopted devices and carries its own configuration: alert settings, Telegram notifications, user permissions, and service configurations. Devices in different Sites are managed independently, even within the same MKController account.
For a solo technician managing one client network, the Default Site is sufficient. For an ISP or MSP managing dozens of client networks, Sites are what make the whole operation scalable — each client gets their own Site, their own alerts, and optionally their own user account with access restricted to only their devices.
Why Does Organizing by Sites Matter?
Section titled “Why Does Organizing by Sites Matter?”| Without Sites | With MKController Sites |
|---|---|
| All devices in a single undifferentiated list | Devices grouped by client, location, or function |
| Alerts sent to all users for all devices | Per-Site alert rules and notification channels |
| No way to delegate access to a specific subset | Site-scoped user permissions for partners and clients |
| Troubleshooting requires scanning all devices | Filter to a single Site to isolate issues quickly |
| Growing fleets become disorganized | New devices slot into pre-defined Sites automatically |
For WISPs: organize Sites by tower location — “North Tower”, “South Tower” — so availability reports and alerts are geographically meaningful.
For MSPs: one Site per client means you can give each client read-only access to their own devices without exposing your entire fleet.
For IT integrators: organize by project or deployment phase, then transfer devices to a permanent client Site when the project is complete.
How Do You Create a Site in MKController?
Section titled “How Do You Create a Site in MKController?”-
Log in to app.mkcontroller.com.
-
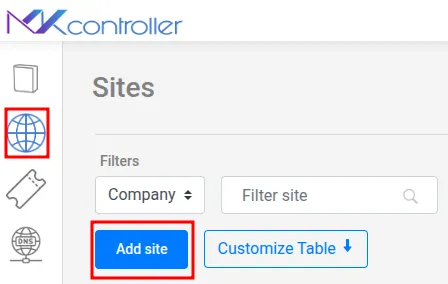
In the left menu, click Sites.
-
Click Add Site.
-
Enter a clear, descriptive name for the Site. Recommended naming conventions:
- By client: “Client Acme Corp — HQ”, “Client Acme Corp — Branch”
- By geography: “Downtown Tower”, “South Neighborhood Site”
- By function: “Lab Devices”, “Production — Critical”
-
If your MKController account manages multiple companies (common for MSPs), select the company this Site belongs to from the dropdown.
-
Click Save.
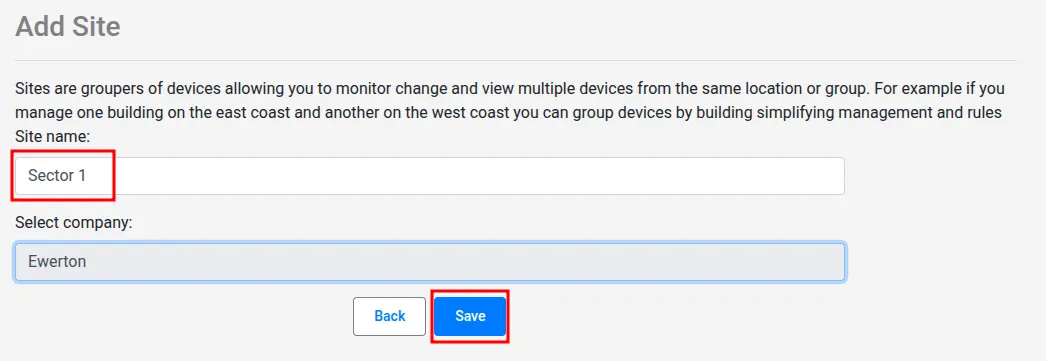
The Site is now ready to receive adopted devices. Every new device adoption lets you assign it to a Site during the adoption flow.
How Do You Transfer a MikroTik Device Between Sites?
Section titled “How Do You Transfer a MikroTik Device Between Sites?”As networks evolve — clients reorganize, projects complete, or equipment relocates — you may need to move a device from one Site to another. The transfer preserves all device data and history; only the Site assignment changes.
-
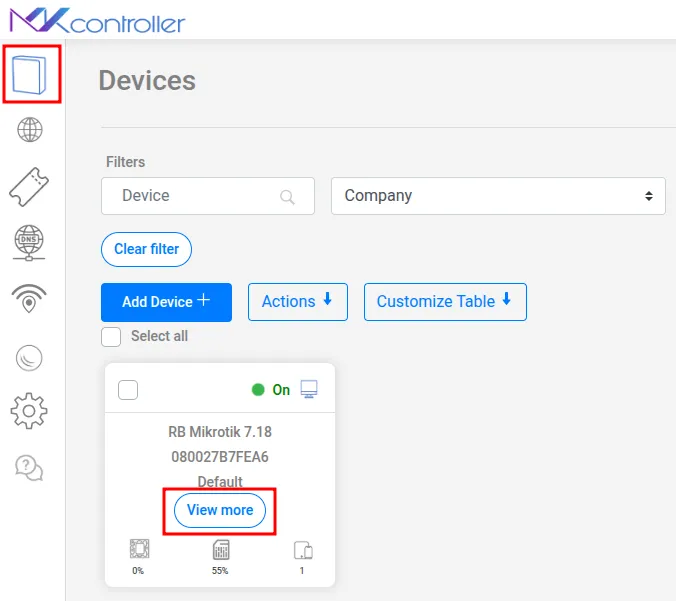
In the left menu, click Devices to view your full device list.
-
Find the device you want to move and click View More.
-
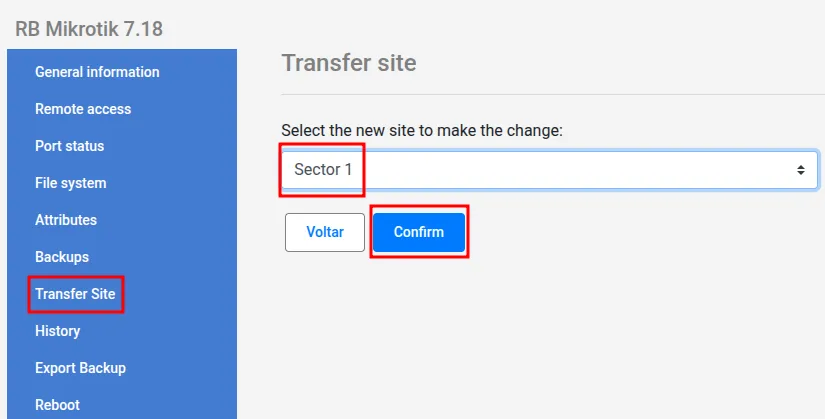
Inside the device details, find the Transfer Site option.
-
Select the destination Site from the dropdown list.
-
Click Confirm.
-
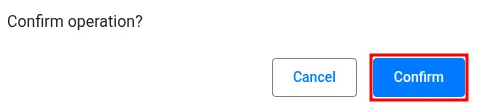
A confirmation popup asks you to verify the transfer. Click Confirm again.
-
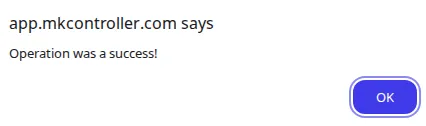
A success message confirms the transfer. Click OK.
-
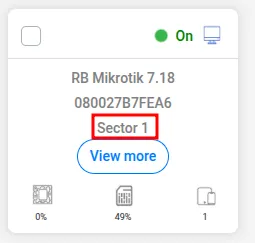
The device card now shows the updated Site assignment.
What Site Configuration Options Are Available?
Section titled “What Site Configuration Options Are Available?”Each Site has its own settings panel, accessible from Sites → Settings for the relevant Site. Key configuration options include:
- Alerts: Configure the alert frequency and conditions (offline device, high CPU, etc.) independently per Site.
- Telegram notifications: Connect a Site-specific Telegram bot for alerts. See the Telegram integration guide.
- Users: Add Site-scoped user accounts for technicians, partners, or clients. Choose between Admin (full access) and Collaborator (restricted access). See Site User Management.
Best Practices for Site Management at Scale
Section titled “Best Practices for Site Management at Scale”Use a consistent naming scheme from day one. Once you have dozens of Sites, inconsistent names (“Client_Acme”, “Acme Corp”, “acme”) create confusion. Pick one format — for example [Client] — [Location] — and apply it everywhere.
Create Sites before adopting devices. During the adoption flow you can assign the device to a Site. It is faster to assign at adoption than to transfer devices later, especially for large batches.
One Site per client, not per device. Group all of a client’s devices in the same Site. This gives you a single alert configuration, a single Telegram notification channel, and a clean usage view per client.
Use the Collaborator role for client access. If a client needs visibility into their own devices, create a Collaborator account scoped to their Site. Collaborators can view device status and reports but cannot modify configuration or access other Sites.
Archive inactive Sites rather than deleting them. If a client relationship ends, removing the Site also removes associated history and reports. If you might need the data later, leave the Site in place and remove user access instead.
Questions about Site organization or multi-client setup? Talk to our team on WhatsApp.