
Add Your First MikroTik Router
Summary Adopting a MikroTik device in MKController links your router to the cloud over an encrypted VPN tunnel, enabling remote access, automated backups, and live monitoring from any browser. This guide covers all three adoption methods — WebFig, Winbox, and SSH — plus the Device Mode requirement for RouterOS 7.17+, and how to remove a device when needed.
What Does Adopting a MikroTik Mean?
Section titled “What Does Adopting a MikroTik Mean?”Adopting a MikroTik device in MKController means establishing a secure, encrypted VPN connection between your RouterOS router and the MKController cloud infrastructure. Once adopted, the device appears in your dashboard and every platform feature — remote access, automated backups, availability monitoring, content filtering, voucher hotspot — becomes available without port forwarding, static IPs, or local controller software.
MKController supports batch adoption for networks of any scale, from a single branch router to hundreds of devices spread across multiple client sites.
For ISPs and WISPs, batch adoption makes it possible to roll out cloud management across an entire fleet in a single session. For solo technicians, the adoption script takes under 60 seconds per device.
What Are the Requirements for Adopting a MikroTik?
Section titled “What Are the Requirements for Adopting a MikroTik?”Before starting, confirm all of the following:
-
You have access to the MikroTik you want to adopt (physical or remote).
-
The device has internet connectivity.
Test with:
Terminal window ping 8.8.8.8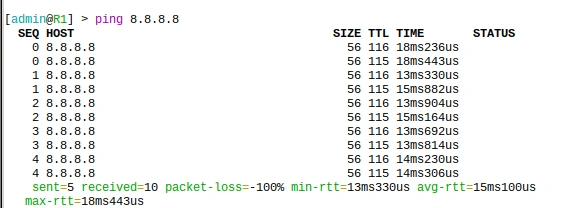
-
The device can resolve DNS names.
Test with:
Terminal window ping google.com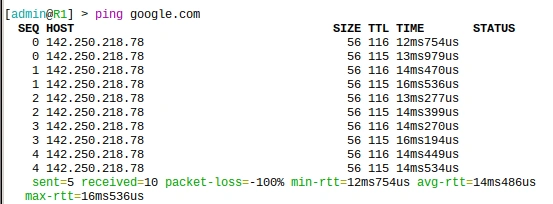
-
The device runs a supported RouterOS version.
-
You have an active MKController account.
How Is the Adoption Process Safe?
Section titled “How Is the Adoption Process Safe?”The adoption process works by executing a short RouterOS script that creates an outbound encrypted VPN connection to MKController servers. The script runs once, establishes the secure channel, and from that point the device communicates over that channel — even behind firewalls or NAT, with no inbound ports required on your network.
This is the same trust model used in enterprise cloud management tools: the device initiates the connection outbound, you retain full control, and MKController never gains access to anything you have not explicitly adopted.
How to Adopt a MikroTik Device
Section titled “How to Adopt a MikroTik Device”Step 1: Create a Device Record
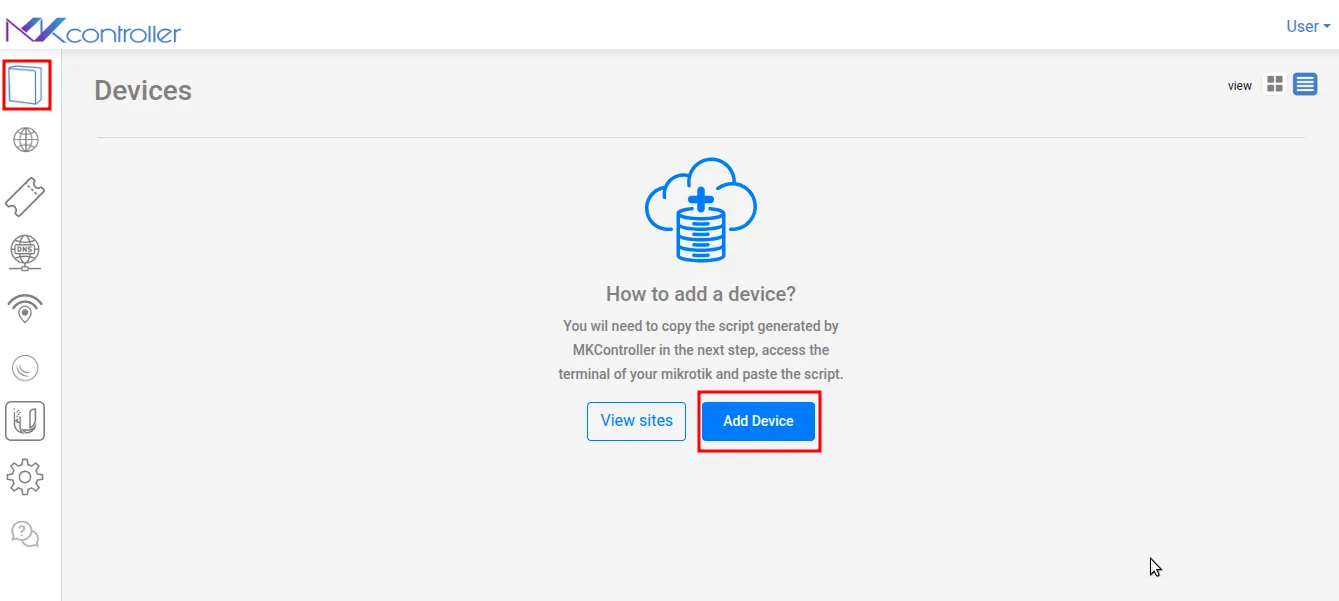
Section titled “Step 1: Create a Device Record”Log in to MKController and click Add Device to begin.
Step 2: Name the Device and Assign a Site
Section titled “Step 2: Name the Device and Assign a Site”Choose a display name and assign the device to a Site. Every account starts with a Default Site. If you want to organize by client or location, create a Site first.

Step 3: Choose an Adoption Method
Section titled “Step 3: Choose an Adoption Method”MKController offers three methods. This is not a permanent choice — you can always try another if the first attempt does not succeed.
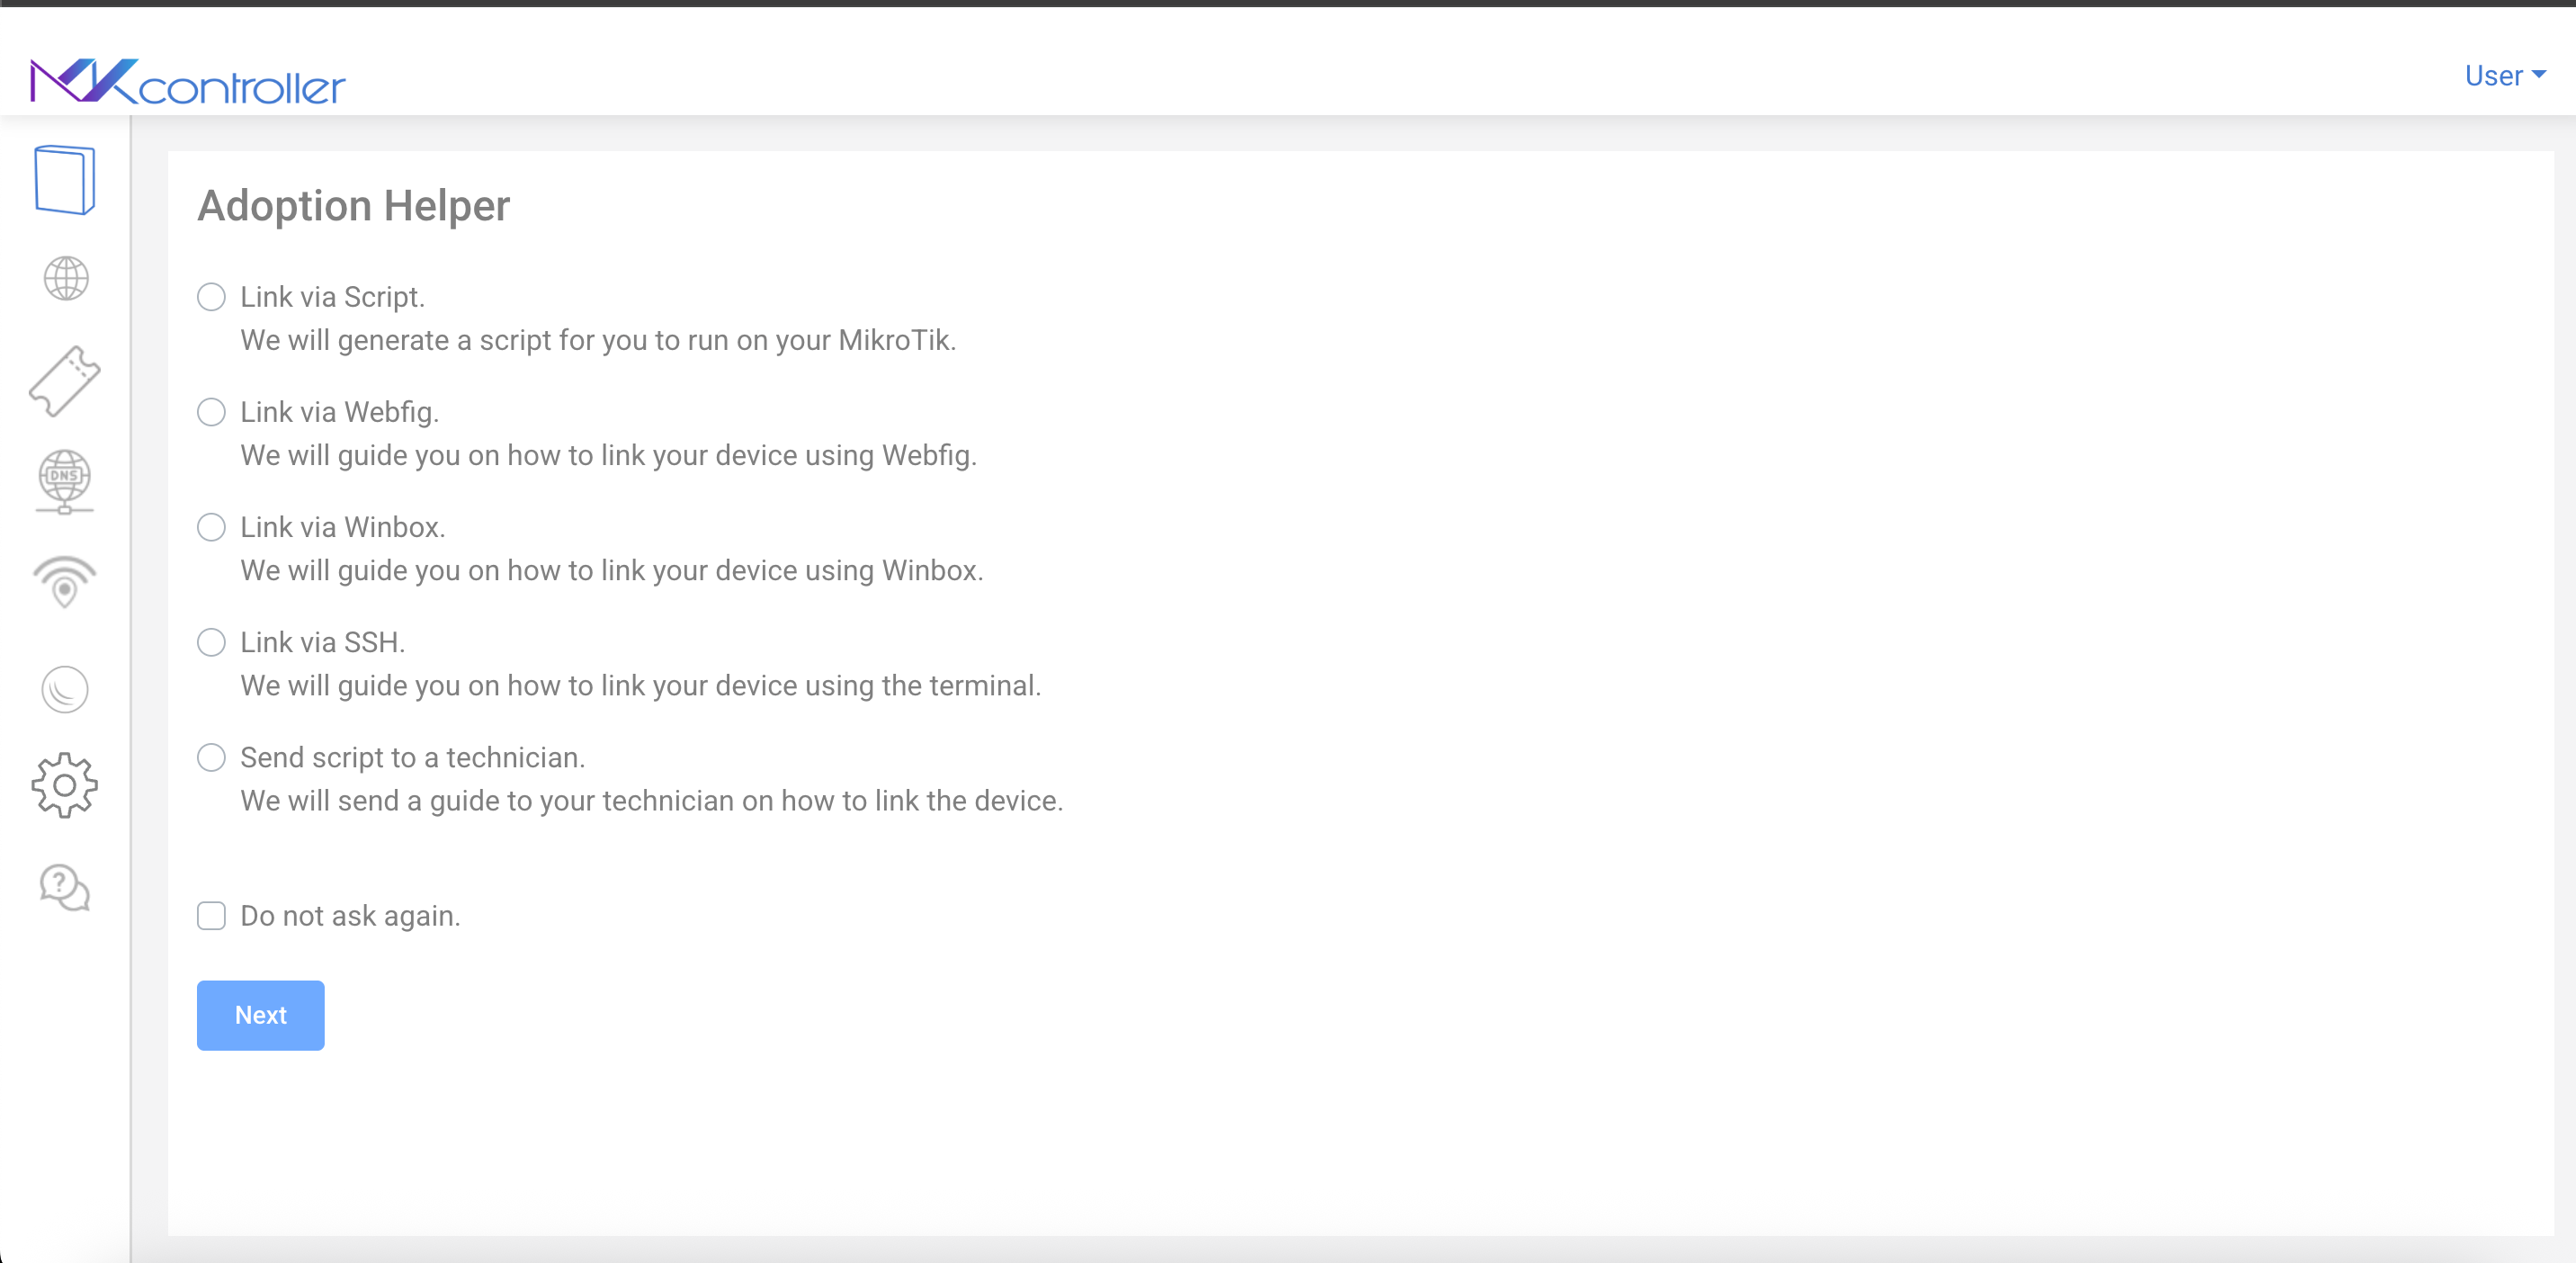
Method A: Adopt via WebFig — browser-based RouterOS interface
-
Open a browser and go to your MikroTik’s IP address (default:
192.168.88.1).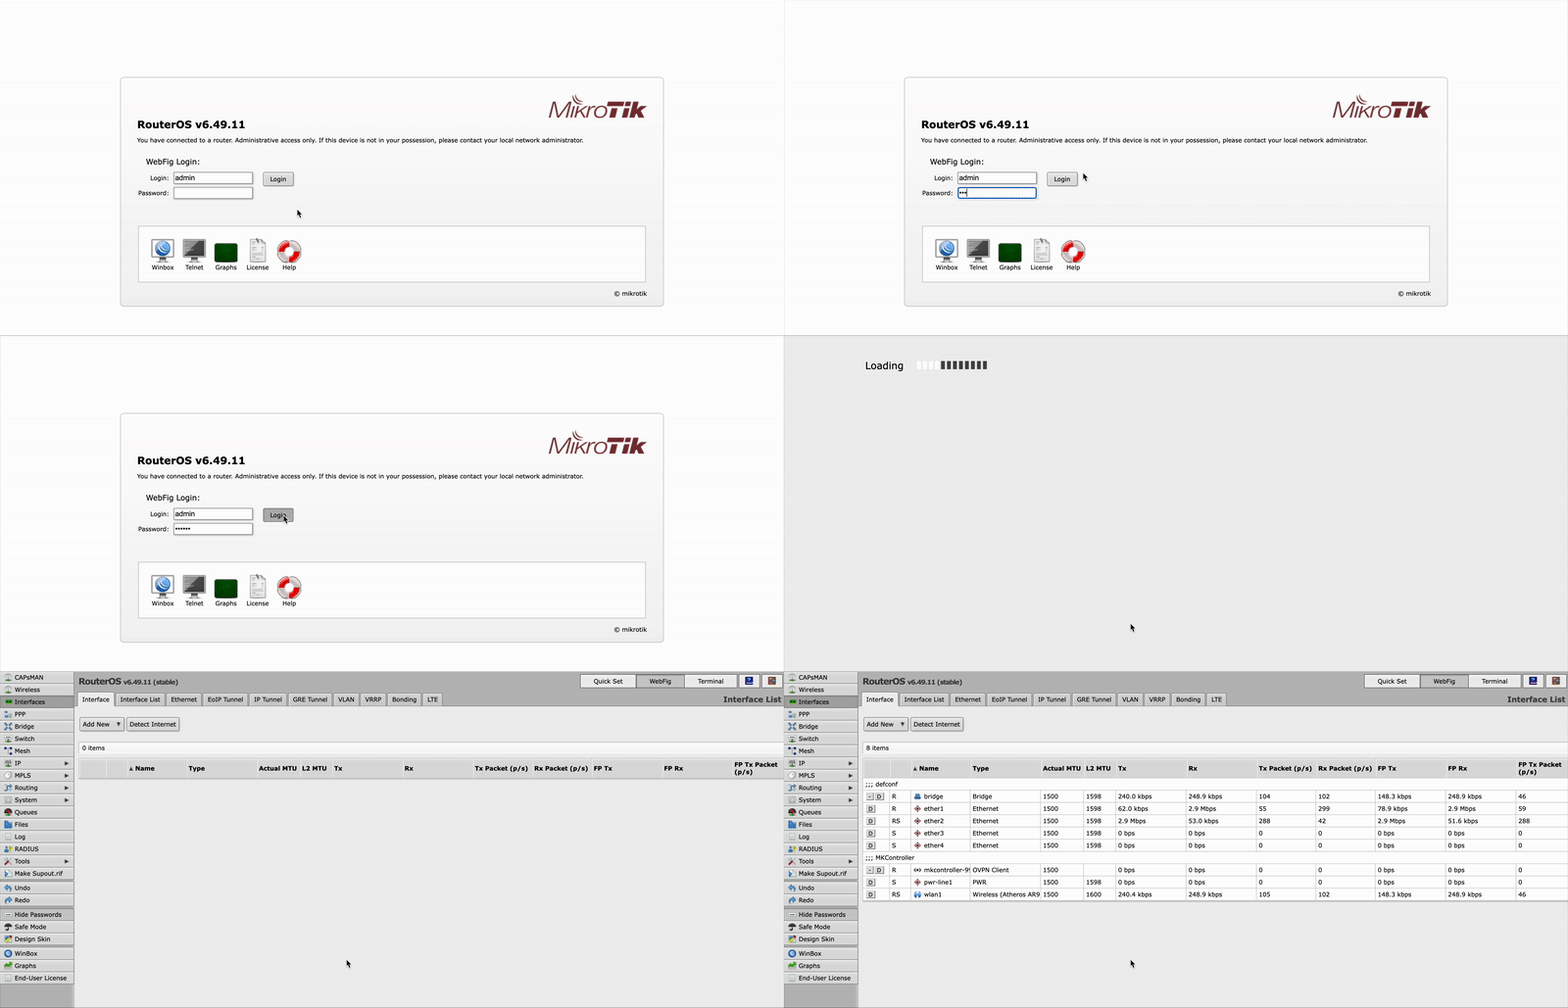
-
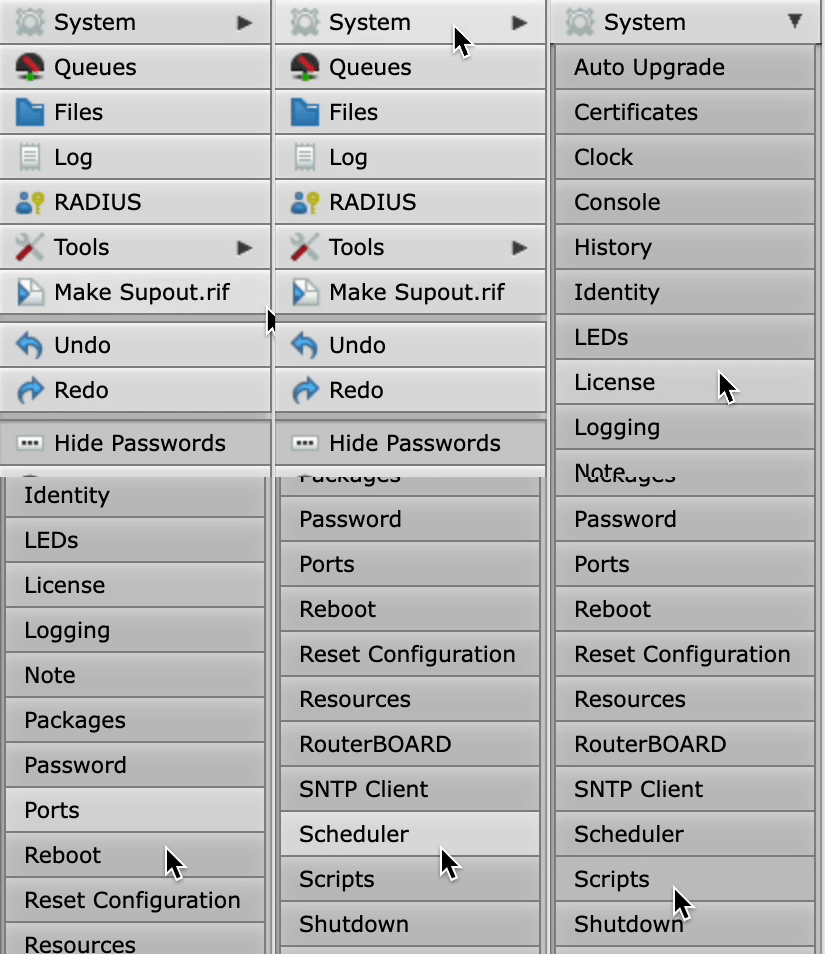
Go to System → Scripts.
-
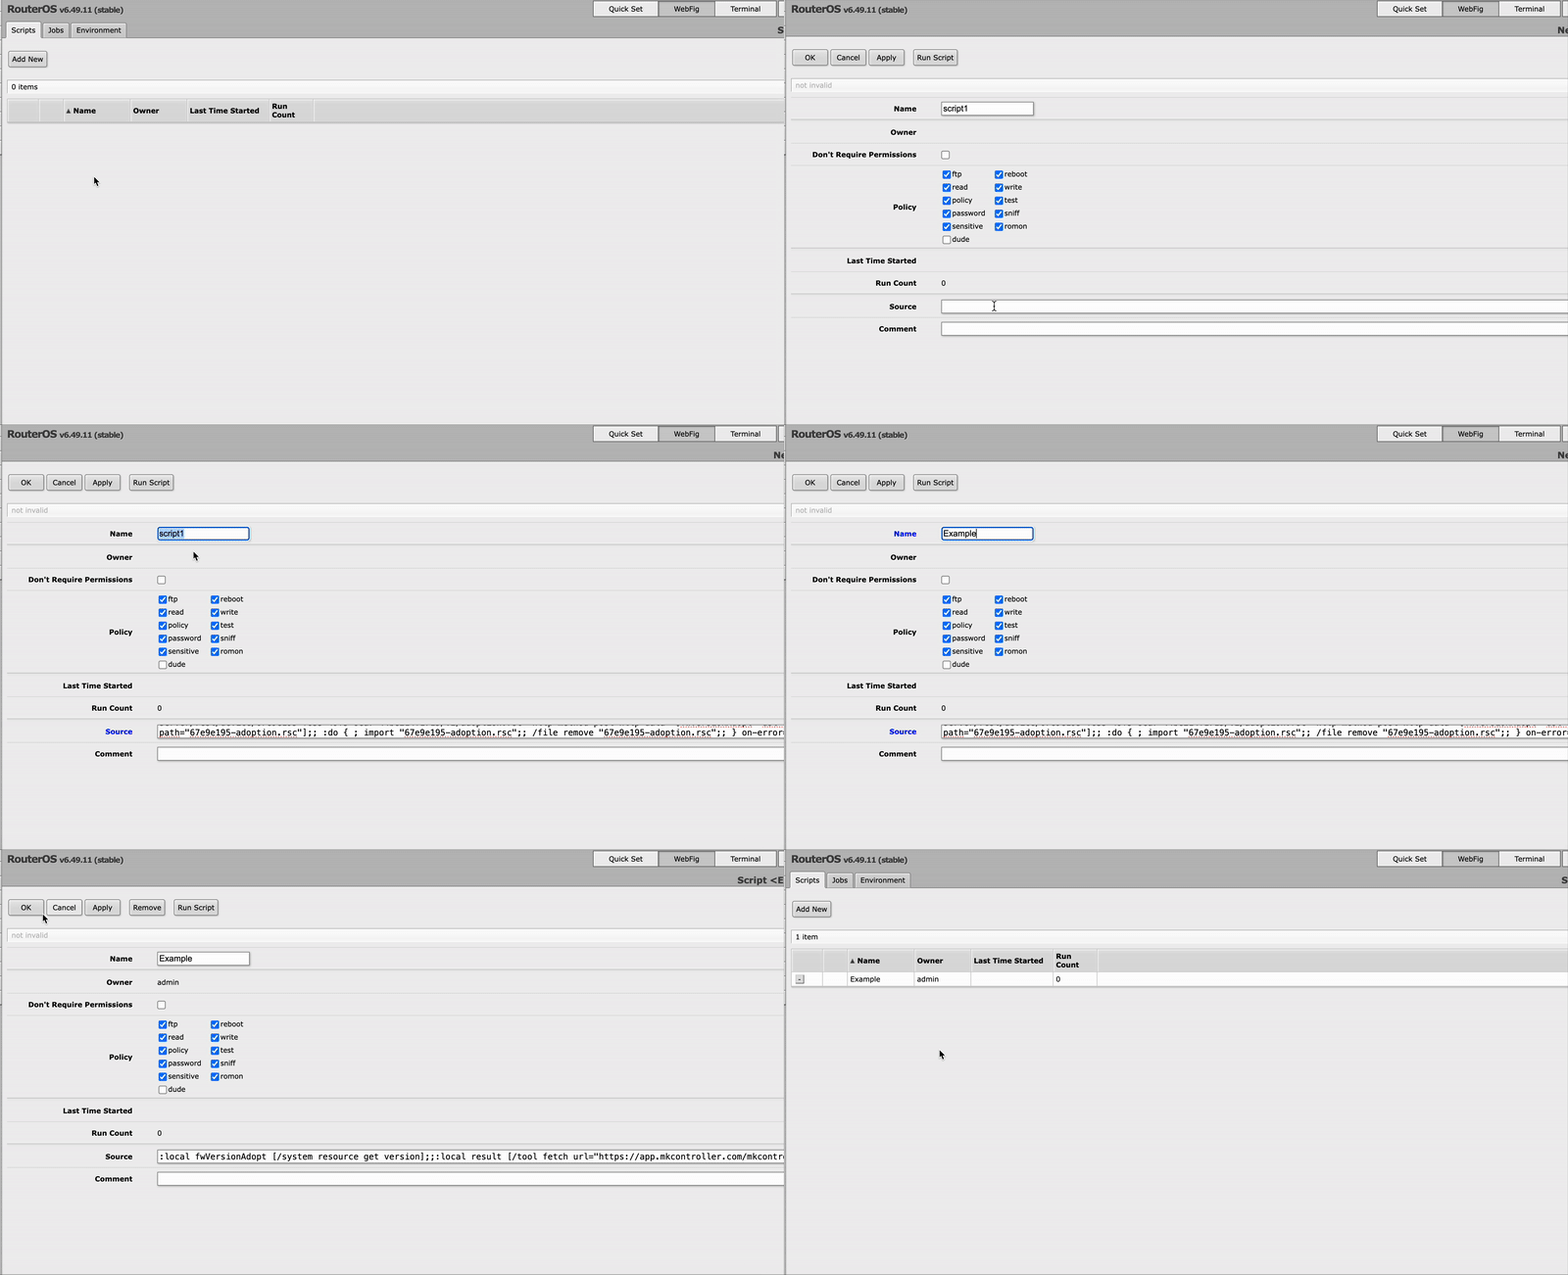
Click Add New, paste the MKController adoption script into the Source field, and click Apply.
-
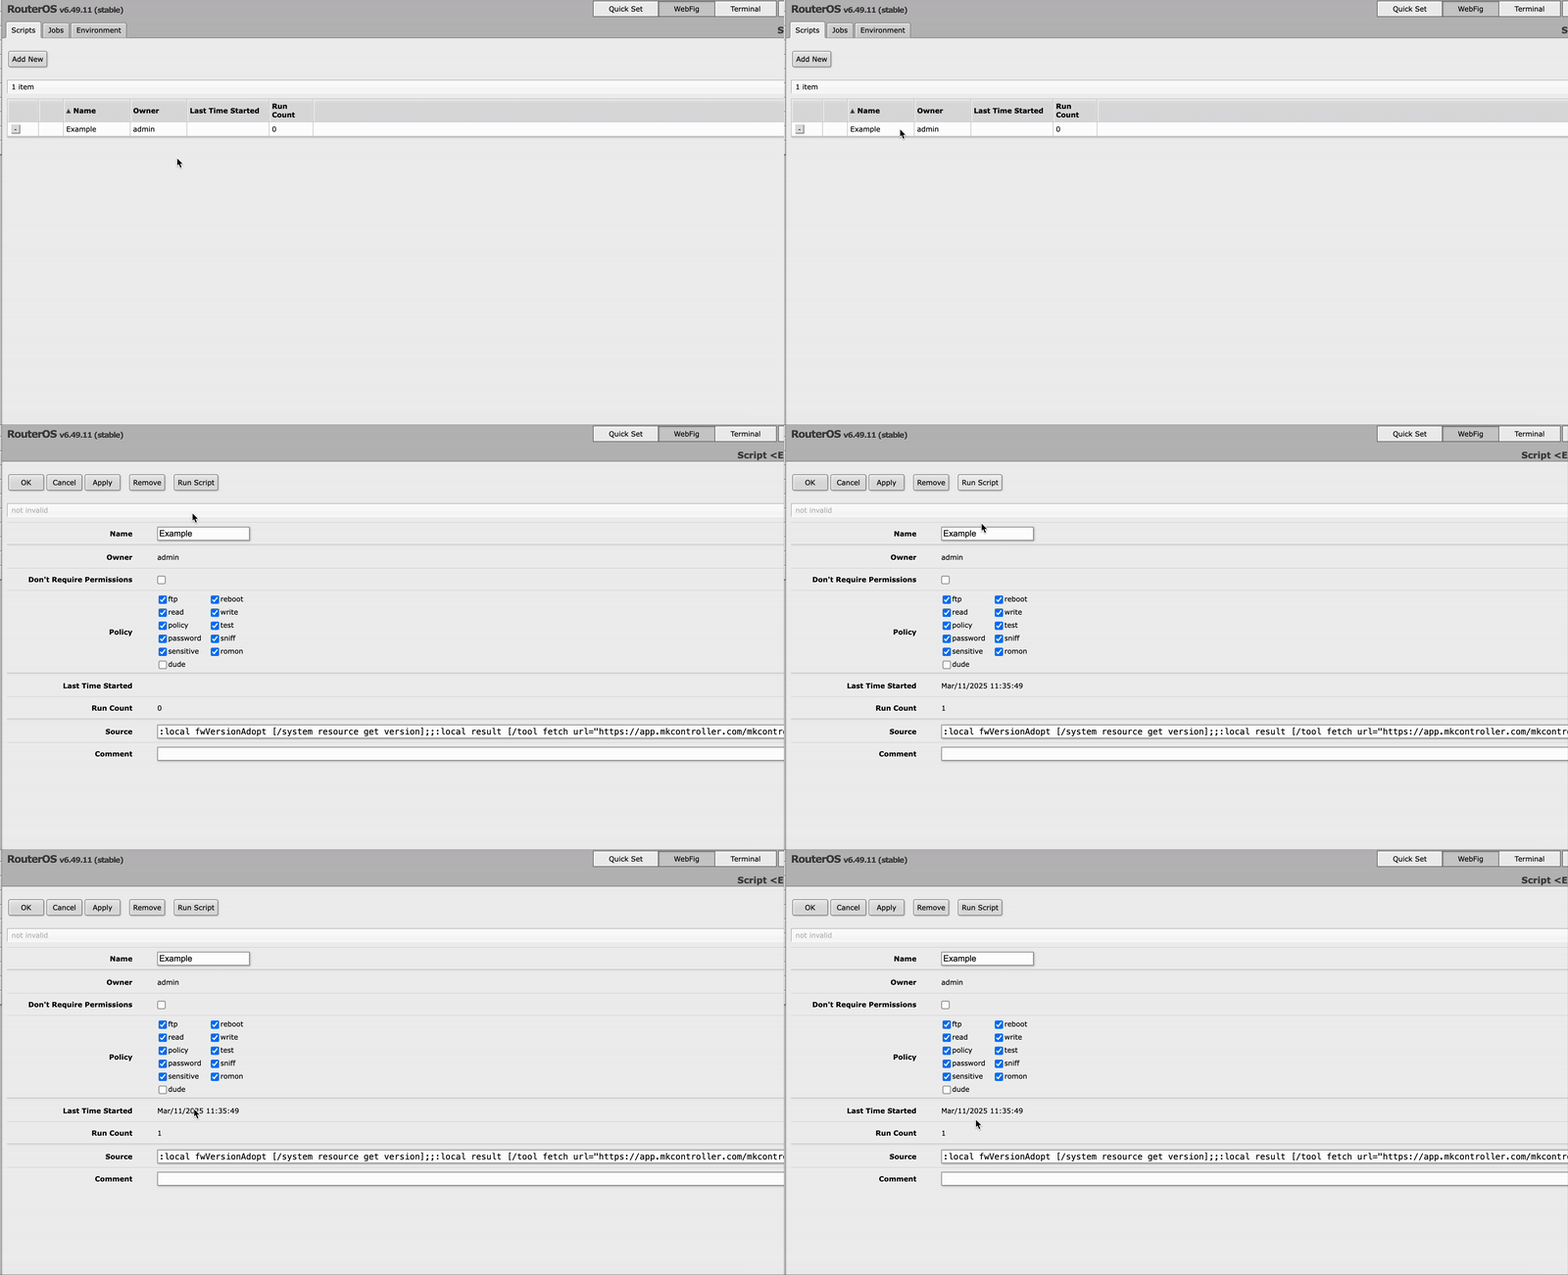
Run the script.
-
The adoption helper shows a waiting message until the device contacts MKController servers, then transitions to a progress indicator.


Method B: Adopt via Winbox — desktop client
-
Open Winbox and connect to your MikroTik device.
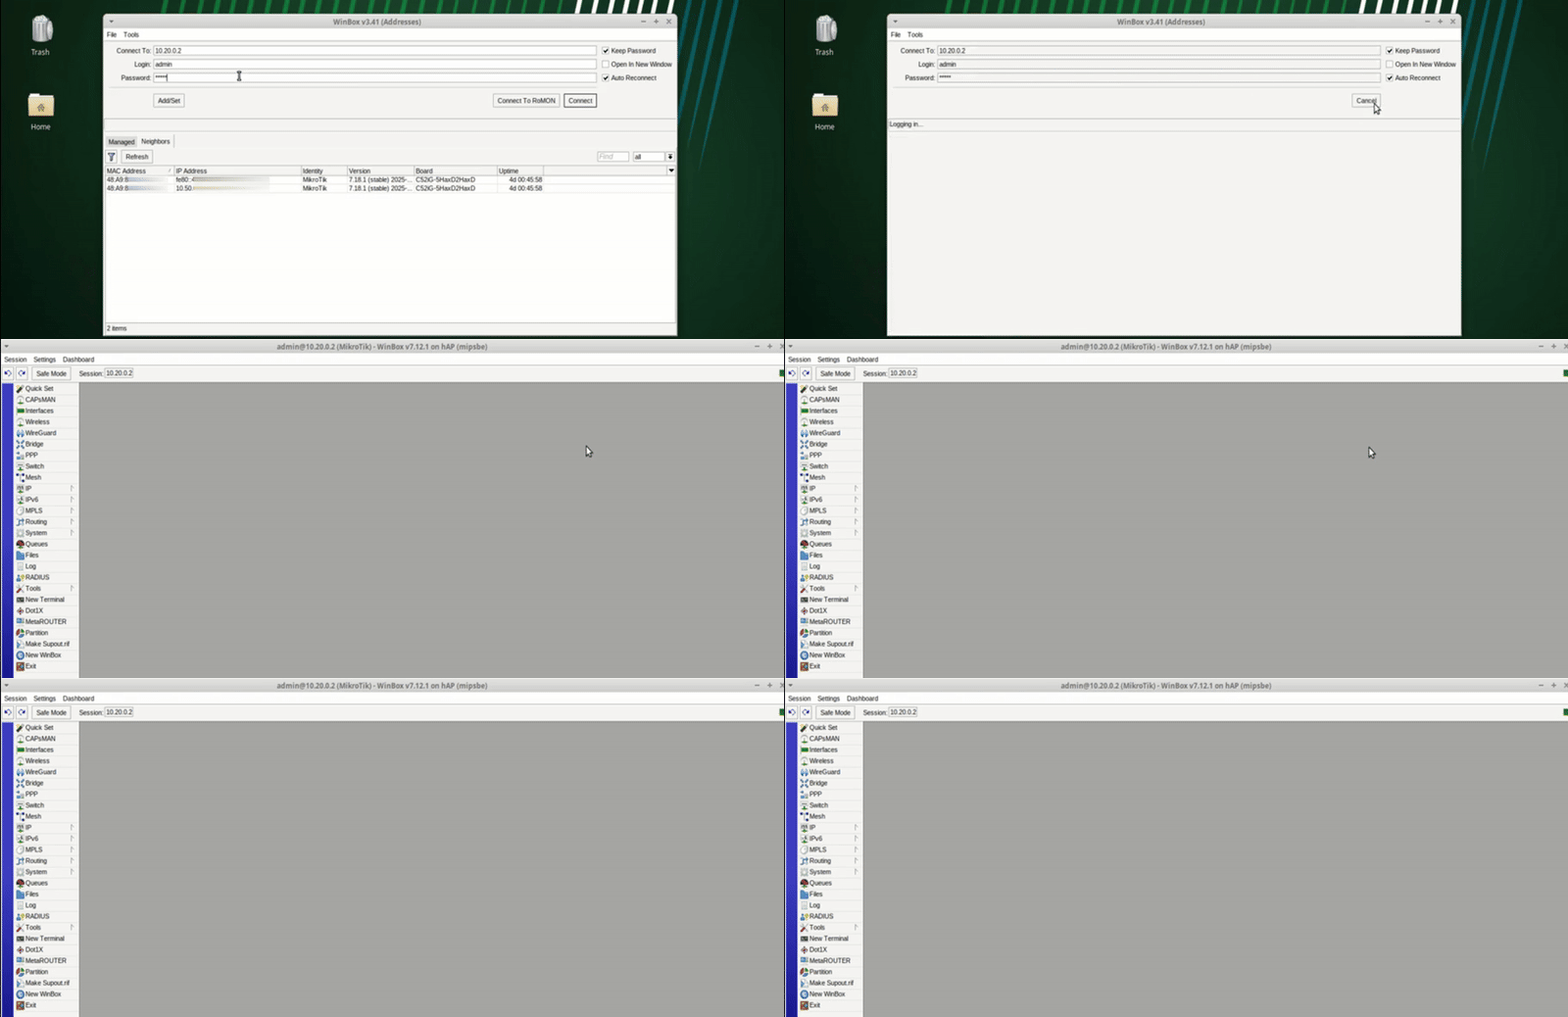
-
Go to System → Scripts.
-
Click Add New, paste the adoption script into the Source field, and click Apply.
-
Run the script.
-
The adoption helper confirms connection and shows progress.
Method C: Adopt via SSH — terminal access
-
Open a terminal and connect:
Terminal window ssh admin@<device-IP>Enter the password when prompted.

-
Paste and execute the MKController adoption script.

-
Watch for the MKController adoption helper to show progress.
What Can You Do Right After Adoption?
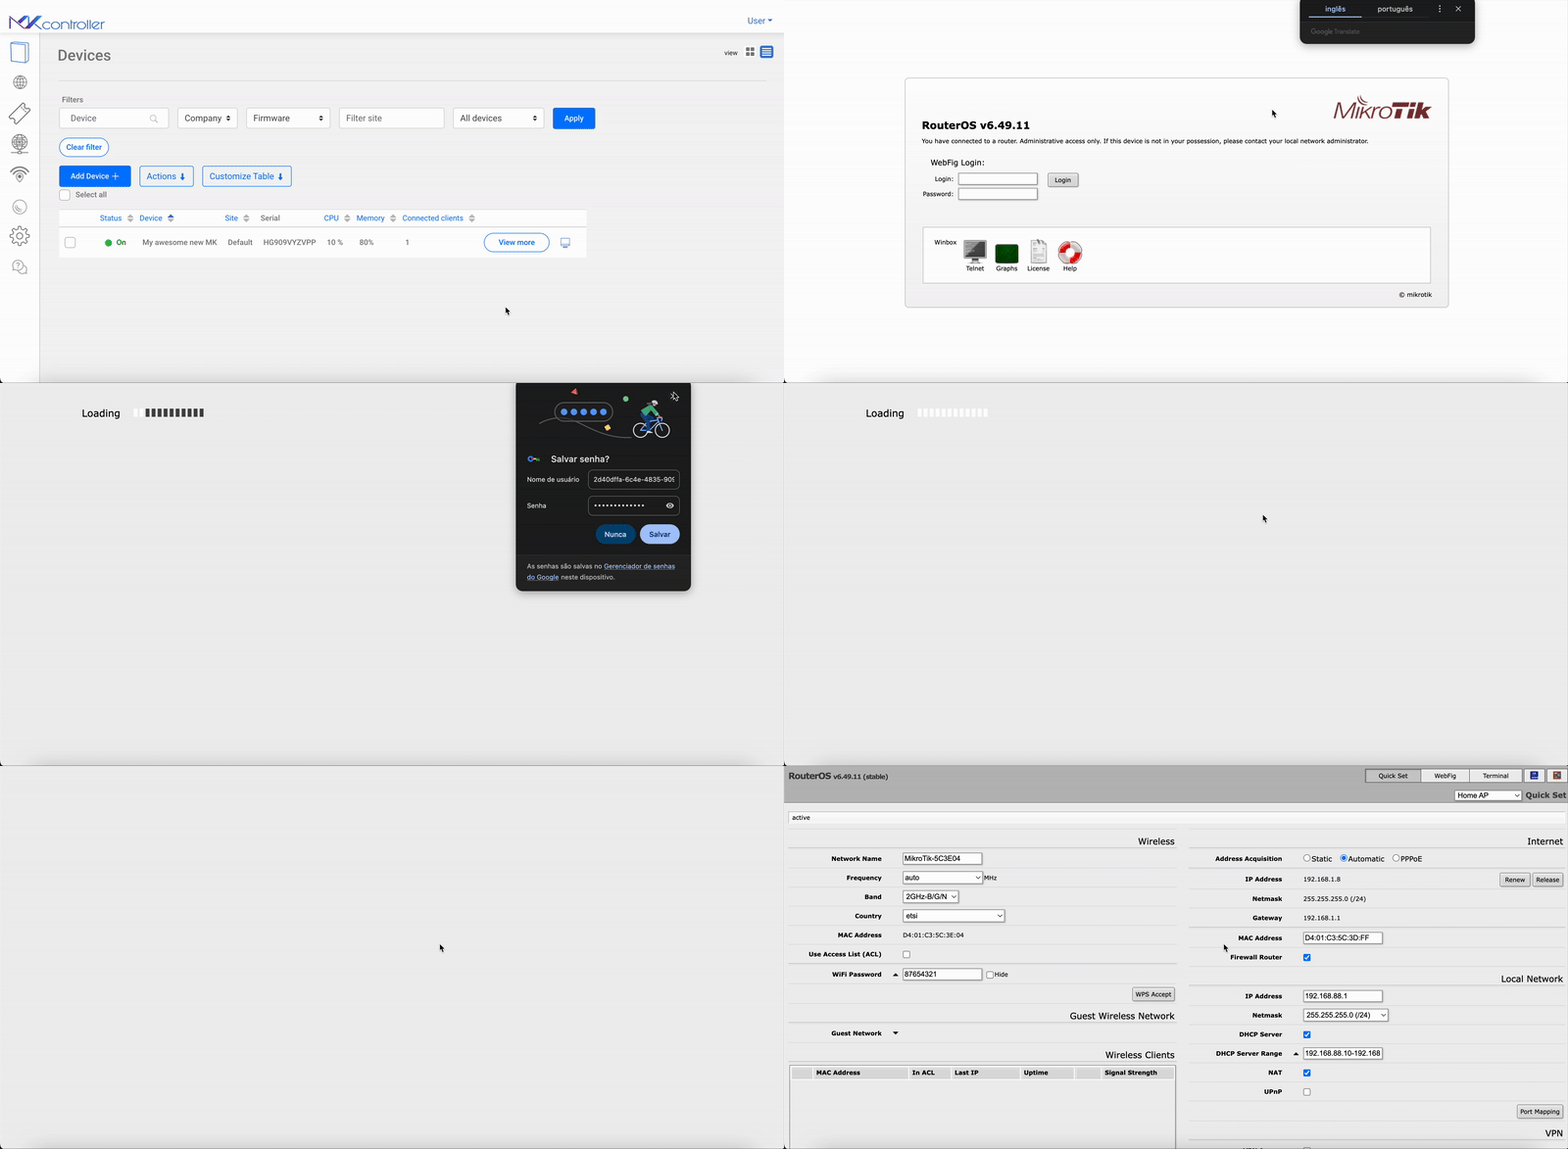
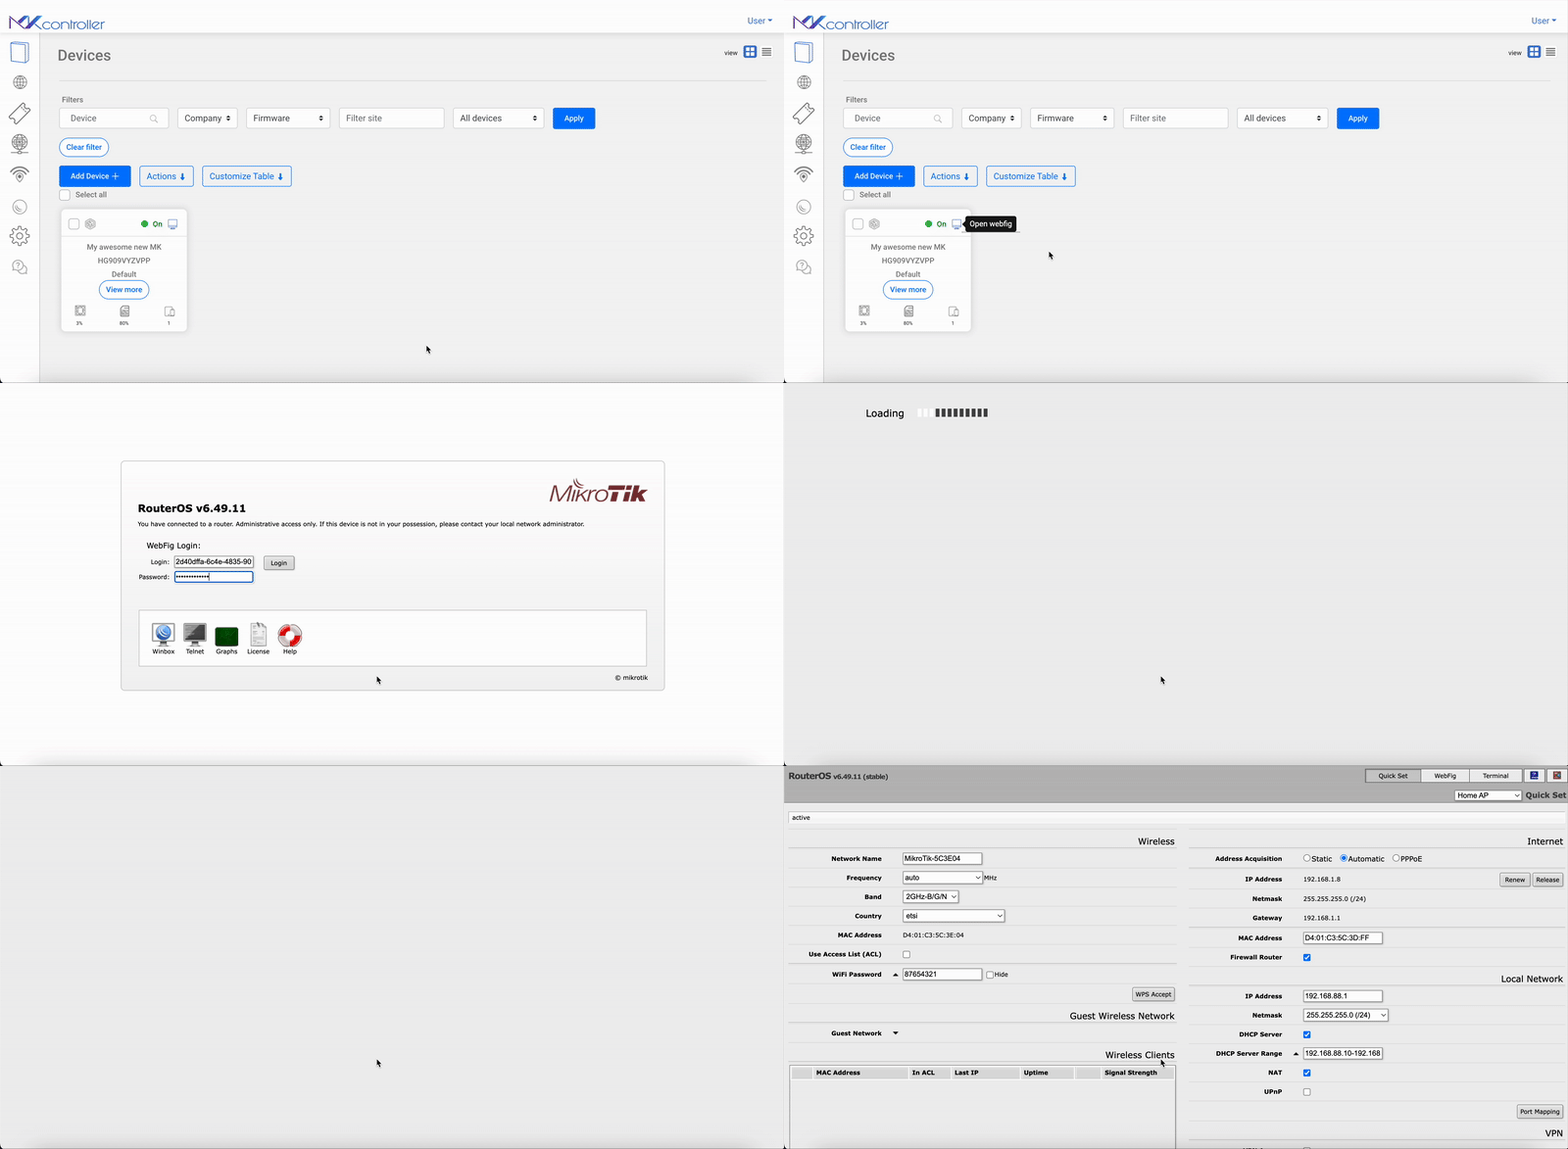
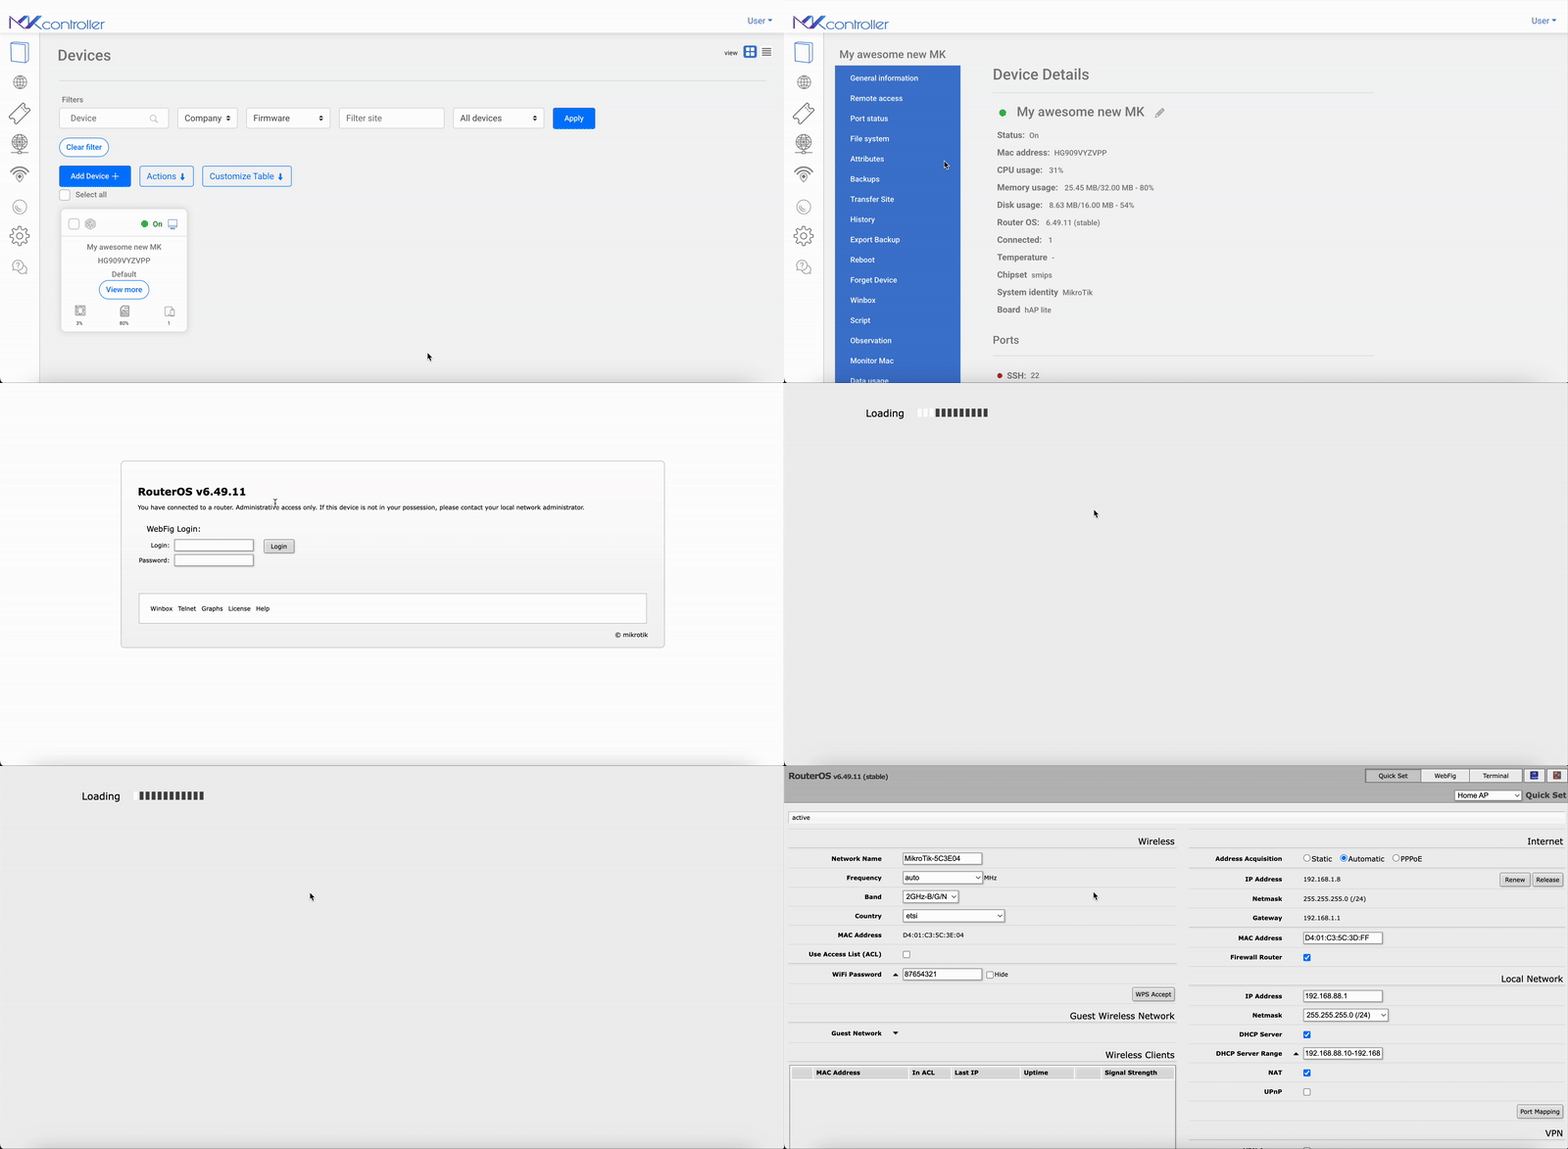
Section titled “What Can You Do Right After Adoption?”The most immediate capability is browser-based remote access — open WebFig or a terminal session on any adopted device from the Devices tab, without firewall changes. Three access views are available:
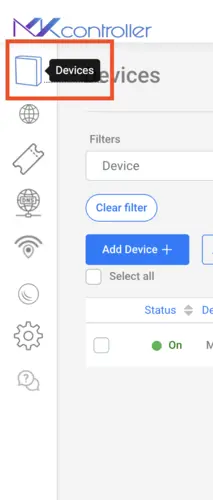
Remote access from table view
Remote access from card view
Remote access from device details
How Do You Remove a MikroTik Device?
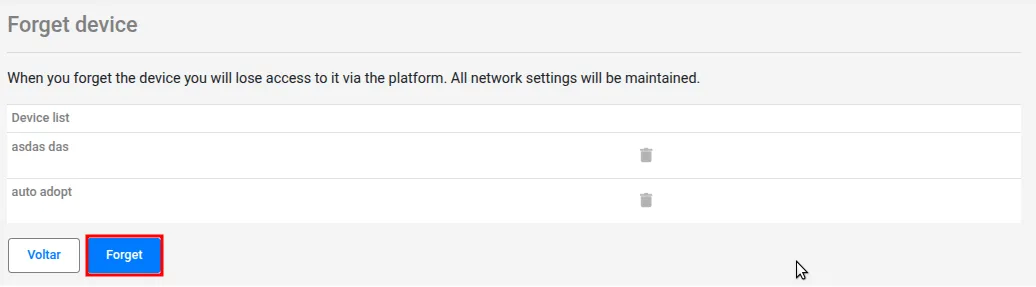
Section titled “How Do You Remove a MikroTik Device?”The Forget Device action permanently removes a device from MKController, deleting all associated configurations and history. This action is irreversible.
-
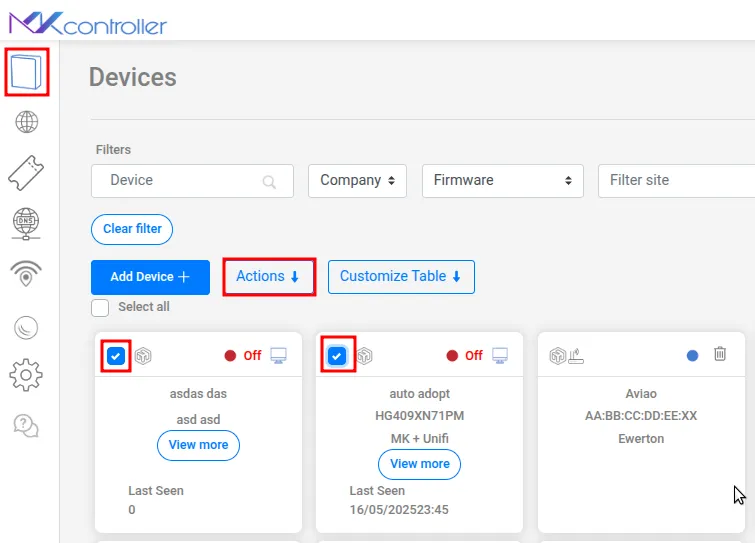
In the Devices menu, select the device(s) you want to remove.
-
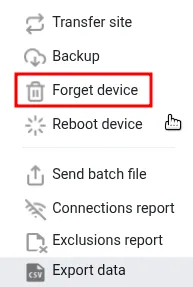
Click Action → Forget Device.
-
Review the listed device names and click Forget.
-
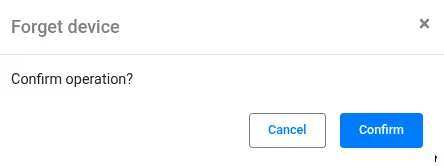
Click Confirm on the second confirmation screen.
-
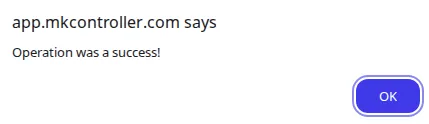
The system returns “The Operation was a success.” Click OK.
Questions about adoption? Talk to our support team on WhatsApp — response times are typically under 5 minutes during business hours.