
MikroTik Hotspot Vouchers — Getting Started
⚠️ Legacy — this page describes the previous Voucher feature. For up-to-date information, see the new WiFi Monetization documentation.
Summary
Section titled “Summary”MKController hotspot vouchers are prepaid Wi-Fi access codes that control who gets on your MikroTik network, for how long, and at what data limit — managed from the cloud, no RouterOS scripting required. This guide explains how the voucher system works and walks you through the complete setup in four steps.
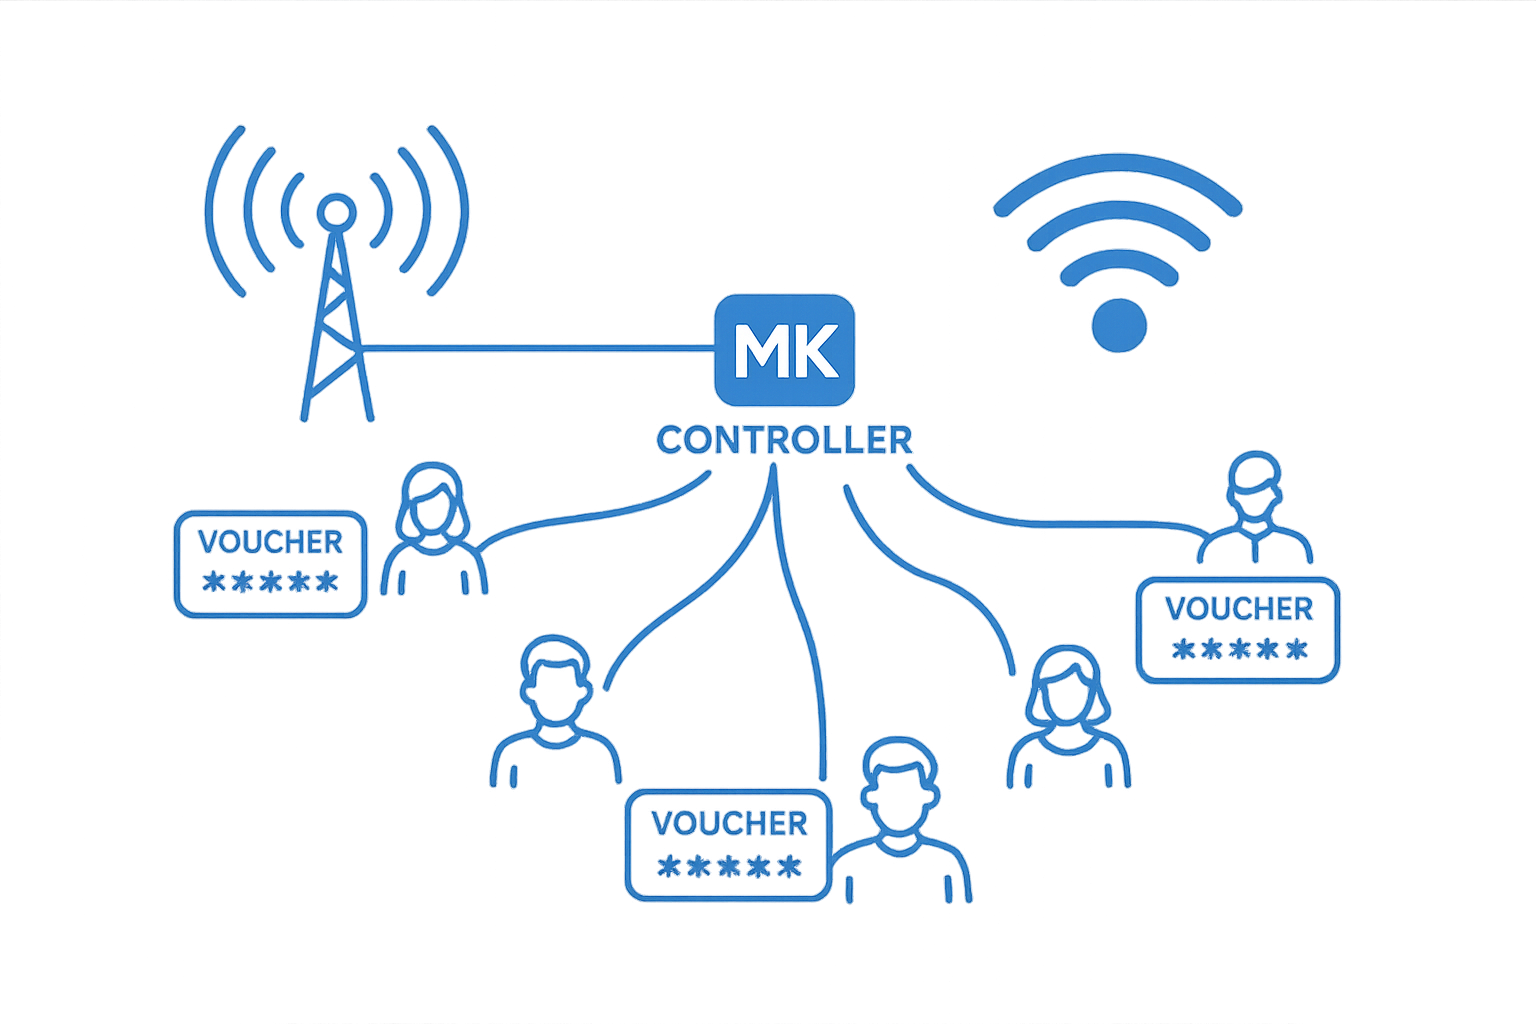
MKController hotspot vouchers are time- or data-limited access codes that users enter on a captive portal to connect to your MikroTik Wi-Fi network. Each voucher defines exactly how much internet access a user gets — duration, data cap, simultaneous devices — and MKController handles the captive portal, voucher generation, and usage reporting from one dashboard.
This is the same mechanism used by hotels, airports, and co-working spaces worldwide, now available as a native MKController feature without manual RouterOS hotspot configuration.
MKController vouchers vs. manual MikroTik hotspot configuration
Section titled “MKController vouchers vs. manual MikroTik hotspot configuration”| Capability | MKController vouchers | Manual RouterOS hotspot |
|---|---|---|
| Voucher generation (bulk batches) | ✅ Cloud dashboard | ❌ RouterOS terminal |
| Branded captive portal (logo, colors) | ✅ Visual builder | ⚠️ HTML file editing |
| Usage reports and revenue tracking | ✅ Real-time dashboard | ❌ Not included |
| Data limit per voucher | ✅ Built-in | ⚠️ Requires scripting |
| Multi-device management | ✅ All sites from one login | ❌ Per-device configuration |
| No RouterOS scripting needed | ✅ Zero | ❌ Required |
What can you do with MKController vouchers?
Section titled “What can you do with MKController vouchers?”For businesses — generate revenue from your Wi-Fi
Turn your MikroTik hotspot into a revenue stream. Sell vouchers with different validity periods and data limits (1 hour, 1 day, 1 week), customize the branding for your venue, and monitor usage and revenue from the dashboard. Ideal for cafes, hotels, co-working spaces, and event venues.
For ISPs — offer managed hotspot as a service
Deploy captive portals for multiple clients from one MKController account. Each client gets their own voucher pool, branded portal, and usage reports. Scale from a handful of sites to hundreds without additional infrastructure.
How to set up MikroTik hotspot vouchers in 4 steps
Section titled “How to set up MikroTik hotspot vouchers in 4 steps”Step 1 — Configure your hotspot
Section titled “Step 1 — Configure your hotspot”In MKController, go to Voucher Wi-Fi and create a hotspot. Link it to an adopted MikroTik device and configure the IP pool. This tells your router to route hotspot users through the captive portal.
Step 2 — Customize the login (captive portal) page
Section titled “Step 2 — Customize the login (captive portal) page”Use the built-in Builder to design your captive portal — the page users see when they try to connect. Add your logo, a welcome message, marketing images, and terms of use. No HTML knowledge required.
Step 3 — Generate voucher codes
Section titled “Step 3 — Generate voucher codes”Go to Create Batch and generate a set of voucher codes. Set:
- Number of codes in the batch
- Session duration (e.g., 1 hour, 1 day, 7 days)
- Simultaneous device limit
- Data limit (optional — see Voucher Data Limit)
- Optional notes or batch label
Step 4 — Monitor usage in real time
Section titled “Step 4 — Monitor usage in real time”In the Real-time menu, track active sessions, data consumption per voucher, and session history. The dashboard shows you who is connected and how much bandwidth each voucher has consumed.
Who uses MKController vouchers?
Section titled “Who uses MKController vouchers?”Cafes and restaurants — Print a batch of day-pass vouchers and hand them to customers at the counter. No passwords to change, no network exposed.
Hotels and guesthouses — Issue per-room vouchers with 24-hour validity. Guests connect once, and the voucher expires automatically.
ISPs building a premium Wi-Fi service — Manage voucher pools for dozens of client hotspots from one dashboard. Generate white-labeled reports for each client.
Event venues and pop-ups — Generate a batch of vouchers for an event, set them to expire at midnight, and hand them to attendees at the door.
Common Mistakes When Setting Up MikroTik Hotspot Vouchers
Section titled “Common Mistakes When Setting Up MikroTik Hotspot Vouchers”Access points configured as routers instead of bridges — If additional APs are set up as separate routers rather than bridge devices, users behind those APs get a different IP subnet and bypass the captive portal. Always configure secondary APs as bridges sharing the MikroTik’s IP pool.
Forgetting to set a data limit for unlimited plans — A voucher with no data limit grants unlimited bandwidth for the entire validity window. If you intend to cap usage, configure the data limit in the batch settings before generating codes.
Vouchers shared beyond their device limit — If a voucher code allows only 1 simultaneous device, a second device using the same code will be disconnected or blocked. Communicate limits clearly to customers, or generate single-use codes per customer.
Not customizing the captive portal before going live — The default portal has no branding. Use the Builder to add your logo and welcome message before inviting customers to connect.
Requirements Before You Start
Section titled “Requirements Before You Start”- A MikroTik device adopted in MKController (RouterOS 6.43 or later)
- Voucher Wi-Fi enabled on your MKController plan — see Plans and Pricing
- An IP pool configured on the MikroTik for hotspot users
- Secondary access points configured as bridges (if applicable)
Start Selling Wi-Fi Access with MikroTik Vouchers Today
Section titled “Start Selling Wi-Fi Access with MikroTik Vouchers Today”Start your free 3-day trial — no credit card required. Set up your first hotspot voucher in minutes and see the captive portal live on your network.