Loopback IP on Mikrotik
What is a Loopback IP on Mikrotik?
A loopback IP is a virtual IP address assigned to an internal interface within the router. It is not associated with any physical network card and serves for internal routing and communication with the router itself. Imagine a tunnel inside the router that connects back to itself.
Advantages of Loopback IP on Mikrotik
Reliable Addressing: The loopback is always active, regardless of the state of the physical interfaces. This makes it ideal for services that require a stable IP address within the router, such as:
- Routing Protocols: BGP, OSPF, and other routing protocols can use the loopback IP as the source for route advertisements.
Mikrotik and the Bridge Interface
While MikroTik does not have a native loopback interface, you can emulate this behavior using a bridge interface. It is basically a virtual interface that aggregates other interfaces (which in this case, do not exist). By assigning an IP to this bridge, you effectively create a loopback IP.
Creating a Bridge Interface
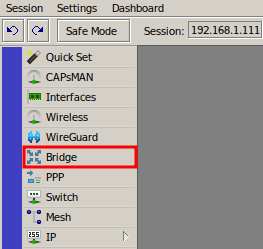
Launch Winbox and connect to your Mikrotik router.
Navigate to Interfaces > Bridge.
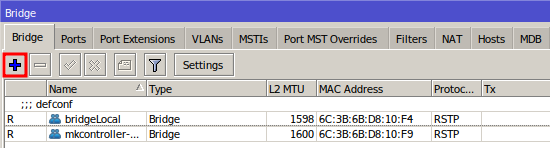
Click “+” to add a new bridge interface.
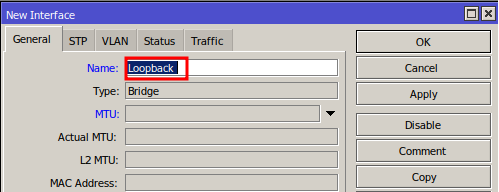
In the “Name” field, assign a name to your bridge interface (e.g., “Loopback”). This will make it easier to identify the interface later.
Click the “OK” button to save the bridge interface settings.
Configuring the Loopback IP on Mikrotik
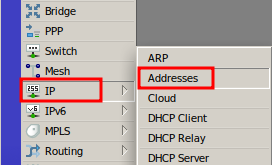
In the main Winbox menu, click on the “IP” option.
In the “IP” submenu, choose the “Addresses” option.
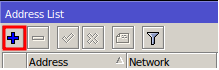
Click the “+” button to add a new IP address.
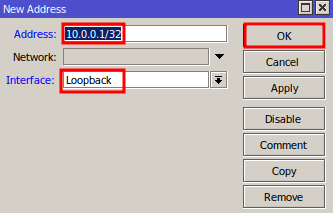
In the “Address” field, enter the desired loopback IP address (e.g., “10.0.0.1/32”). Make sure to choose a valid address that does not conflict with your network.
In the “Interface” field, use the dropdown menu to select the bridge interface created earlier (e.g., “Loopback”).
Click the “OK” button to save the settings.
By following these steps, you will have successfully configured a loopback IP on your MikroTik router.
Did you not find the information you were looking for? Do you have other questions? Do you want to help us improve the material? Do not hesitate to contact us and seek support from MKController! Click here for any questions.
If you have Mikrotiks in your network, enhance the control, efficiency, and remote access of your Mikrotik with MKController. Click here to try it now and discover the power of advanced and intuitive management to elevate your experience to new heights!