
DNS Content Filter: A Step-by-Step Guide to Secure Your Network
What is a DNS content filter?
Imagine the internet as a vast library with millions of books (websites). When you search for a specific book, you use a catalog (DNS) to find the exact location of the book on the shelves. A DNS content filter acts like a librarian who decides which books you can borrow. It checks the titles of the books you request and, if they are on the prohibited list, prevents you from finding them.
How does it work in practice?
The Domain Name System (DNS) is responsible for translating the friendly addresses of websites (like www.example.com) into numerical addresses (IPs) that computers understand. A DNS content filter intercepts these requests and compares them to a list of blocked websites. If the website is on the list, the filter returns an error message, preventing you from accessing the content.
Why use DNS Content Filtering?
- Security: Protects networks from malicious websites that may contain viruses, malware, or phishing attacks.
- Parental control: Allows parents to restrict access to inappropriate content for children.
- Legal compliance: Helps businesses comply with laws and regulations that require the blocking of certain types of content.
- Productivity: Increases productivity in corporate environments by preventing employees from accessing non-work-related websites.
What are the main types of blocked content?
- Pornography
- Violence
- Hate speech
- Drugs
- Gambling
- Social media (in some cases, in corporate environments)
This article will demonstrate how to configure content blocking on MikroTik devices using MKController.
Prerequisite:
- You must have a Mikrotik configured on the MKController platform. For configuration instructions, please refer to our tutorial: “Adopting a Mikrotik at your MKController”.
Block inappropriate websites, protect children, and boost productivity with MKController
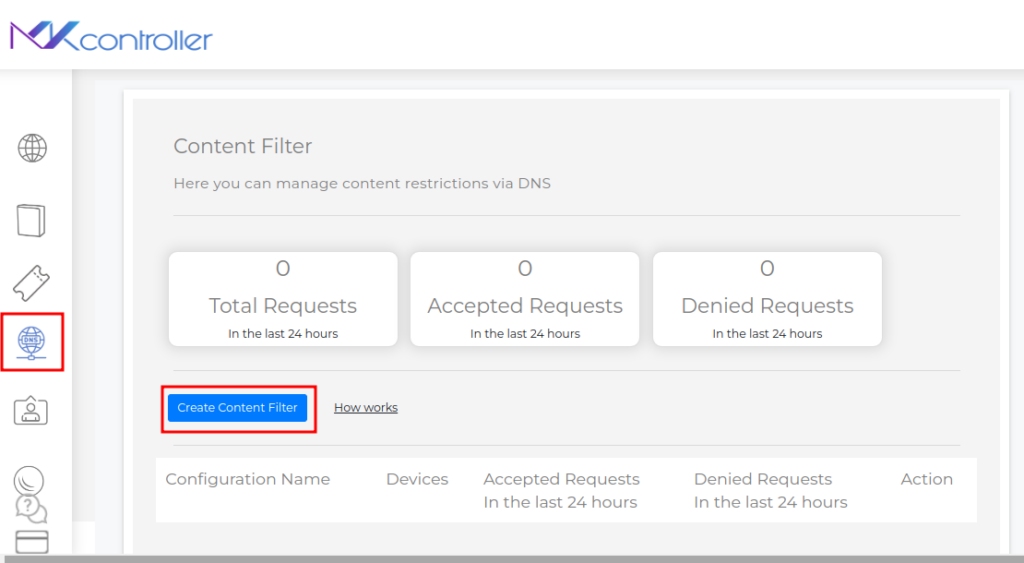
Access the “Content Filter”.
Select the “Create content filter” button.
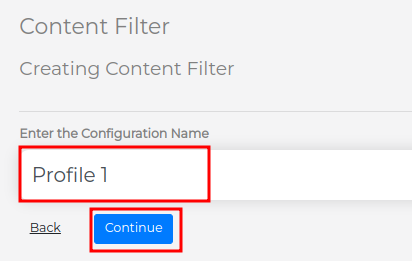
Enter an identification name for the configuration.
Click the Continue button.
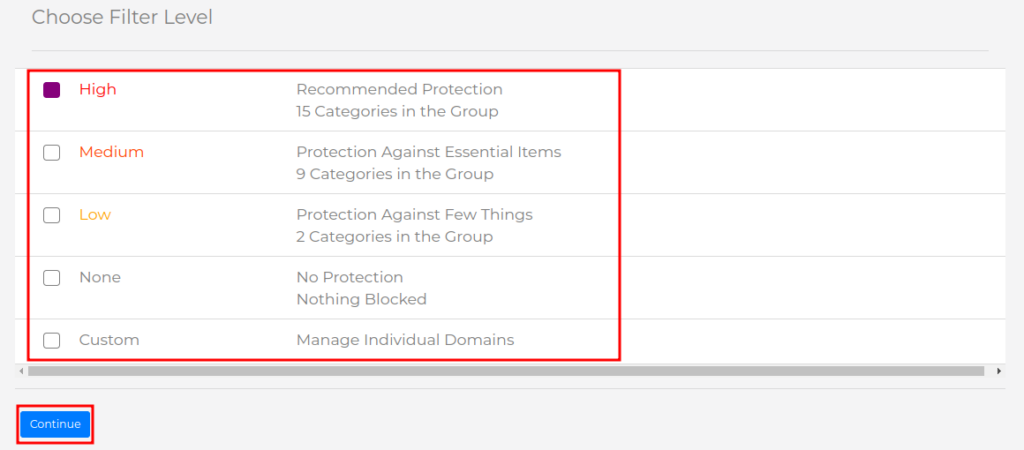
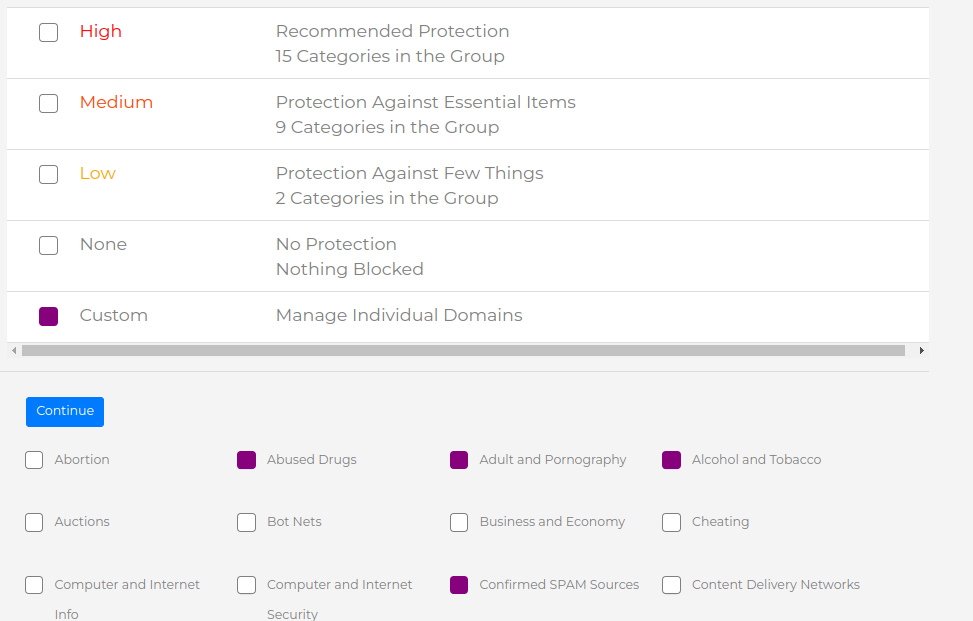
Select the desired filter level:
- High – Recommended protection with 15 pre-selected categories.
Medium – Protection against essential items, with 9 selected categories.
Low – Protection with only 2 selected items.
None – No blocking will occur.
Custom – You can select which categories will be protected on the network.
Continue Click.
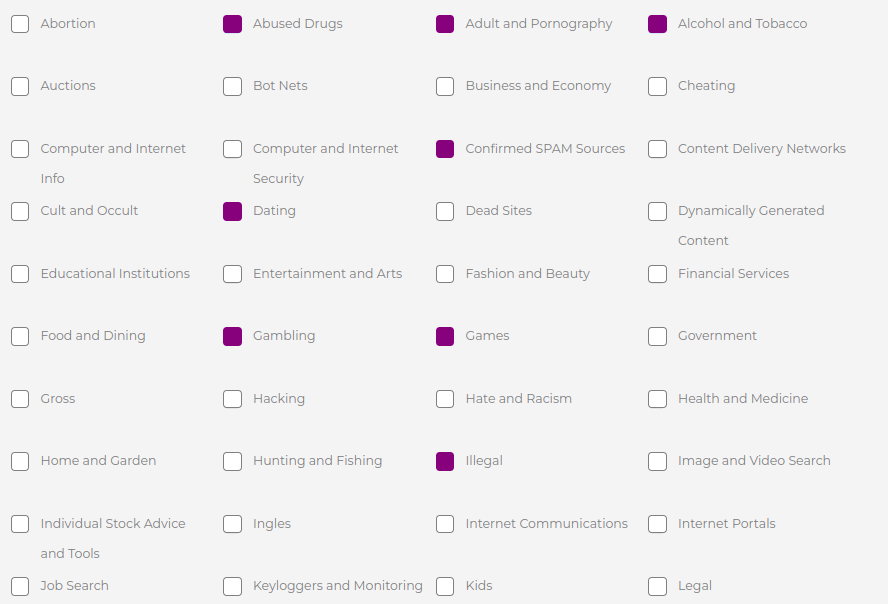
Before proceeding, you can check the available categories for blocking at the bottom of the screen.
Linking MikroTik Device
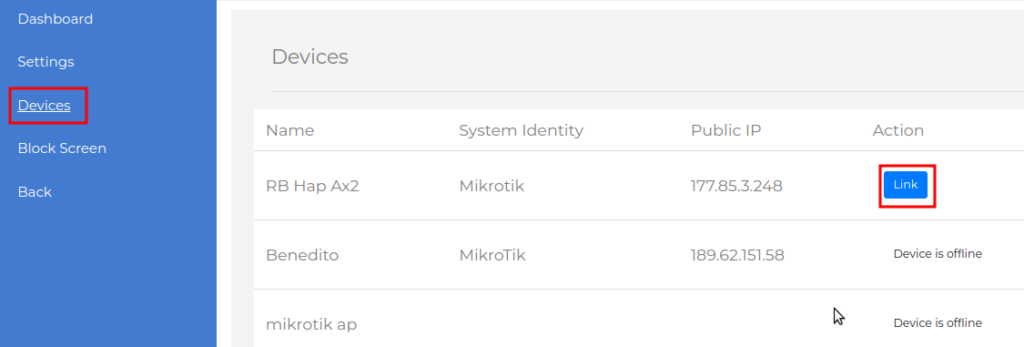
Select the Devices option.
Click the Link button.
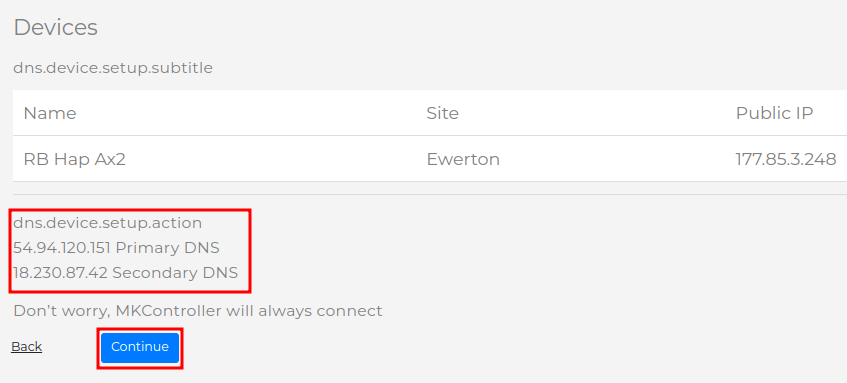
The primary and secondary DNS IPs that will be used for content filtering will be displayed.
Click Continue.
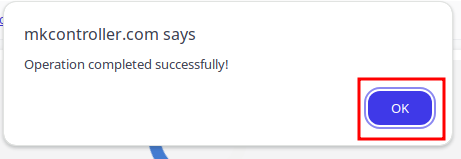
After the success message appears, click OK.
Configure the blocking screen
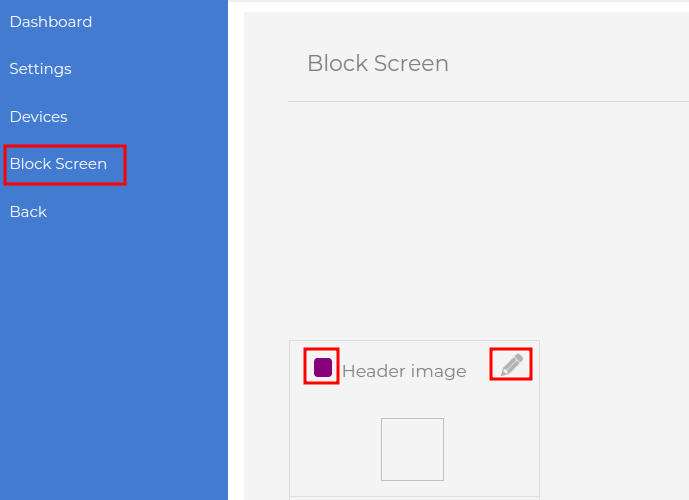
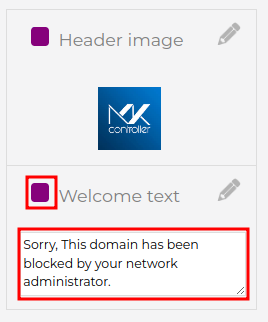
Select the Blocking screen option.
Enable Top Image.
Click the pencil icon to choose a saved image from your device.
Enable the Welcome text option.
Write a text that will be displayed on the device’s screen after a content filter block.
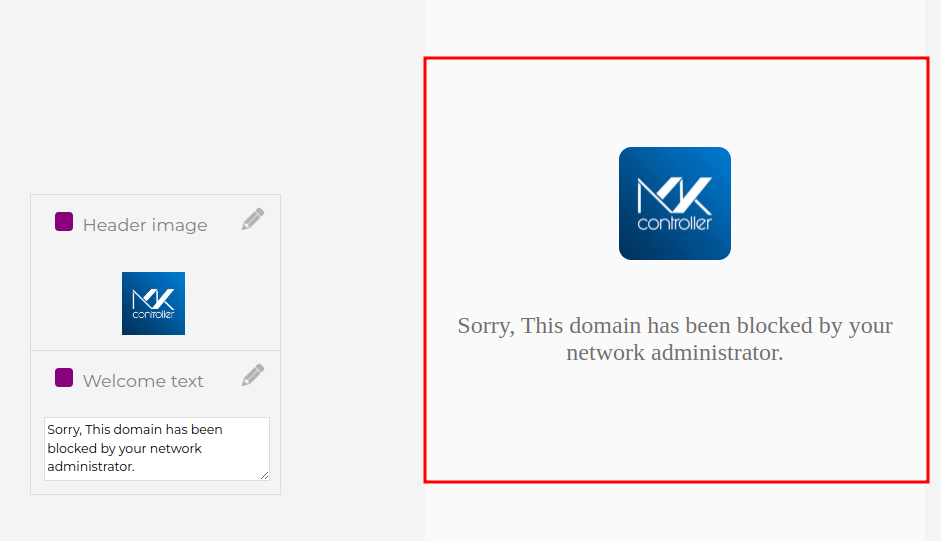
On the right side of the screen, you can see a preview of the image and text that will be displayed after the block.
Settings Options
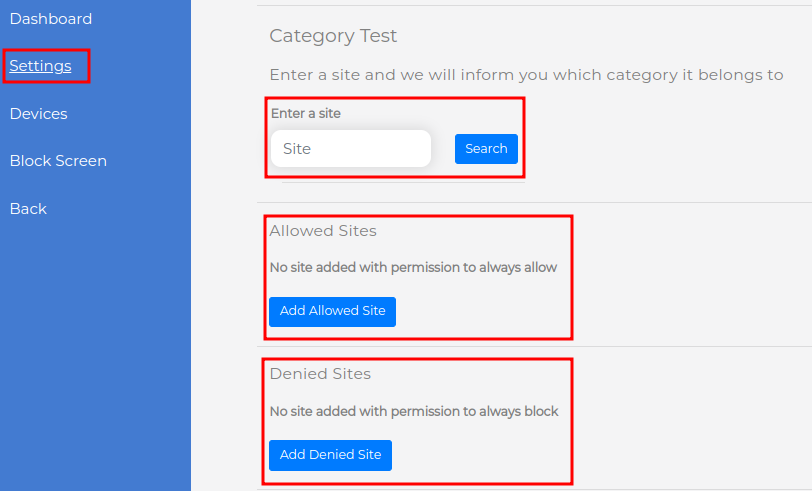
In the Settings menu, you can perform the following actions:
- Category test – Enter a website URL, and after clicking Search, the category to which the website belongs will be displayed.
- Allowed sites – Add one or more sites that can be accessed, regardless of the blocking filter.
- Blocked sites – Add one or more sites that will be blocked.
At the bottom of the screen, you can change the filter level by category or customize it.
MKController DNS Content Filtering Reports
Access the Dashboard menu to view detailed reports on internet usage on your network, including which sites were blocked by the content filter.
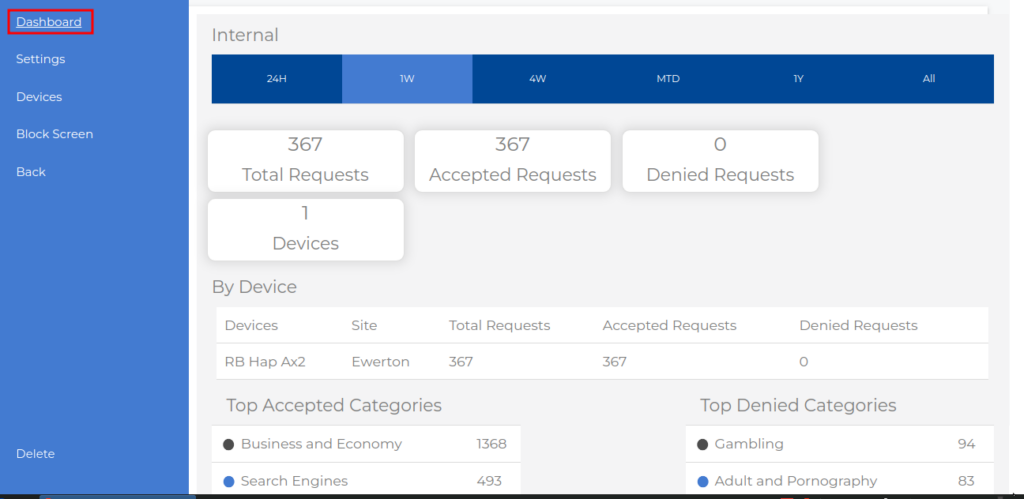
With MKController, you have the power to shape internet access on your network. Customize the settings to suit your needs and ensure a safe and productive online environment.
Did you not find the information you were looking for? Do you have other questions? Do you want to help us improve the material? Do not hesitate to contact us and seek support from MKController! Click here for any questions.
If you have Mikrotiks in your network, enhance the control, efficiency, and remote access of your Mikrotik with MKController. Click here to try it now and discover the power of advanced and intuitive management to elevate your experience to new heights!