Netinstall Mikrotik - Recovering or RouterOS | Step by Step
Netinstall Mikrotik is a tool designed to reinstall RouterOS on Mikrotik devices, either via network or a serial cable connected to the equipment. The program formats the Mikrotik device’s disk and installs the selected RouterOS file, resolving various issues such as:
- Corrupted RouterOS
- Freezing
- Failure to start the device
- Inability to downgrade or upgrade due to full disk space
The Netinstall program does not delete the RouterOS license key and provides no guarantee that configurations will be saved in the process, even with the “Keep old configuration” option. Therefore, it is advisable to maintain a routine backup for security.
At MKController, we offer two backup options:
- Binary Backup: An uneditable file that can only restore the same device it was generated for, as it contains physical information about the equipment.
- Configuration Backup: An editable file that does not contain physical information about the equipment, allowing it to be used to configure other devices with RouterOS and restore the device itself.
Mikrotik Processor Architecture Type
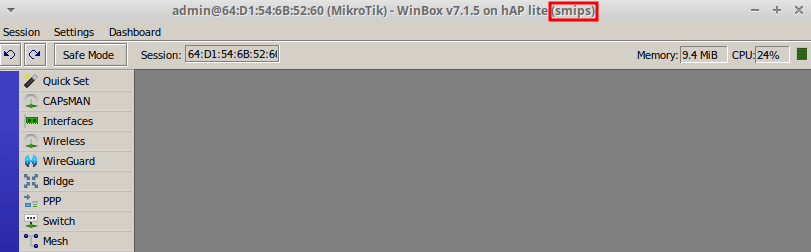
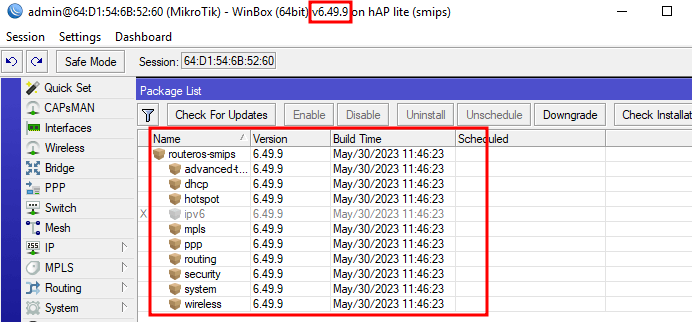
Before downloading, you need to know the type of processor architecture of the Mikrotik device for Netinstall. Access the equipment through Winbox, and the necessary information will be displayed at the top, after the RouterOS version and device model.
In this example, the processor architecture type in Winbox is “smips.”
Downloading Netinstall Mikrotik Software
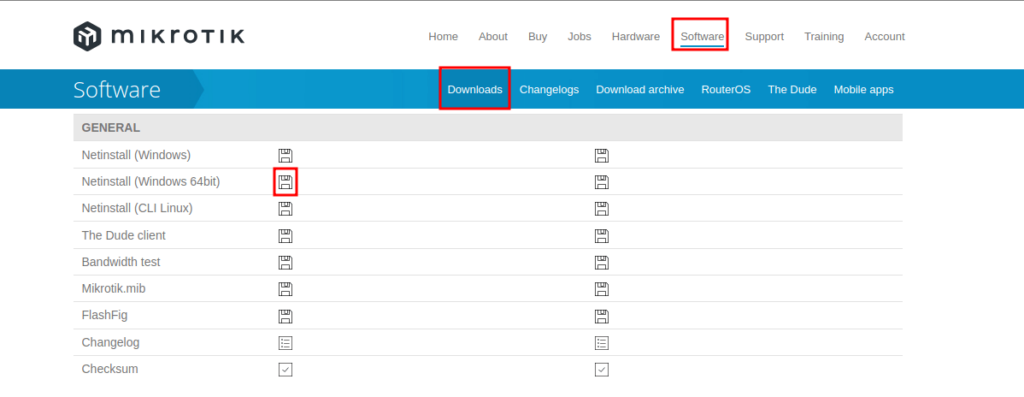
Visit the https://mikrotik.com website, select the “Software” menu, then “Downloads.” Under “General,” click the floppy disk-like symbol for the operating system version.
In this example, the Windows 64 version was selected.
Downloading RouterOS Packages
Updating or Recovering to the Current Version:
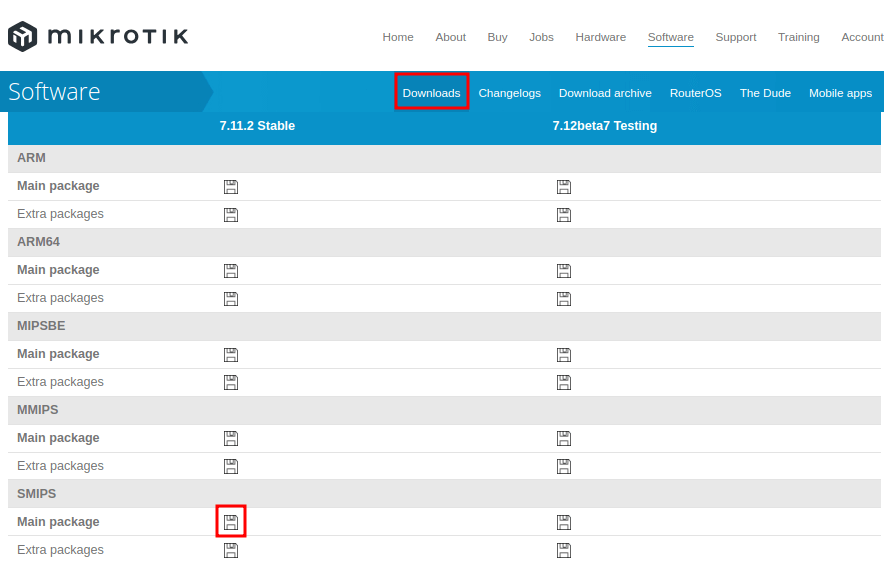
If the Mikrotik device’s RouterOS is in the version presented in the “Downloads” menu, or you intend to update to the current version, select the floppy disk symbol in the “Main package” option for the processor architecture type of the equipment to download the file.
Downgrading:
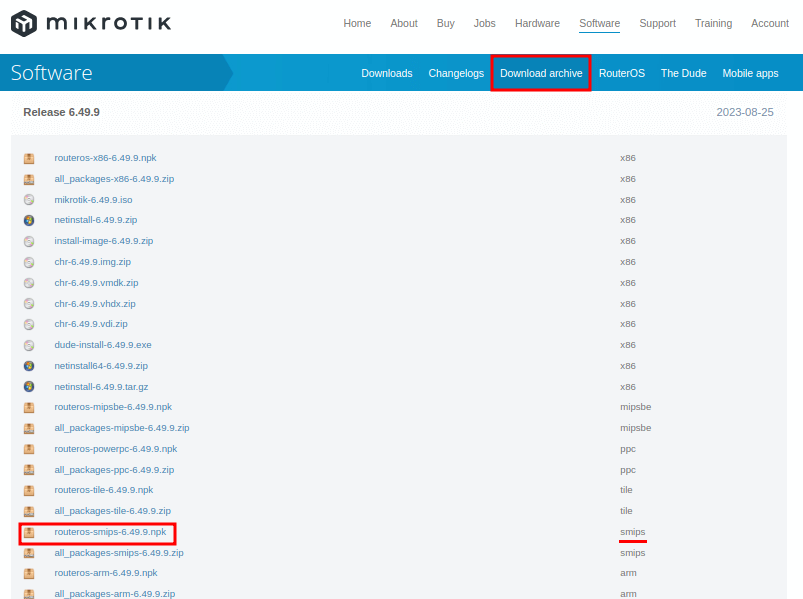
If you want to downgrade with Netinstall, on the Mikrotik page, select the “Download archive” menu and then download the file with the “.npk” extension, according to the Mikrotik processor architecture type.
For this example, the file “routeros-smips-6.49.9.npk” was selected.
Changing Network Card IP
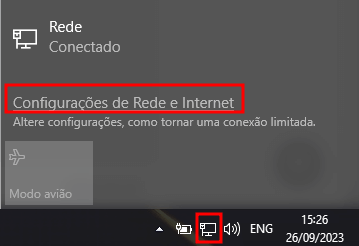
According to the Mikrotik manual, for Netinstall to function correctly, it suggests changing the IP of the network card. To do this, select the network icon in the Windows taskbar and click on “Network and Internet Settings.”
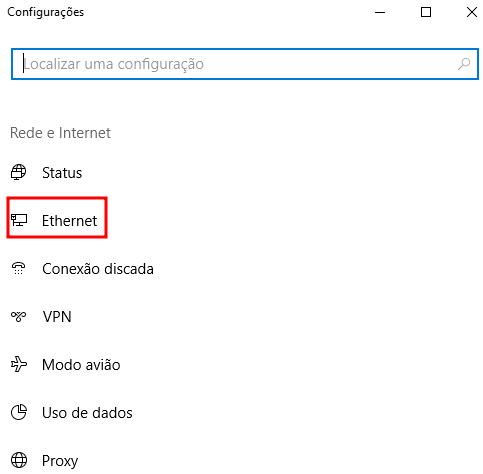
Choose “Ethernet”
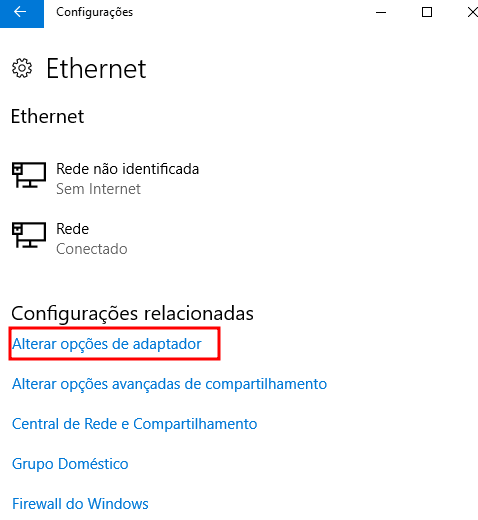
Click “Change adapter options.
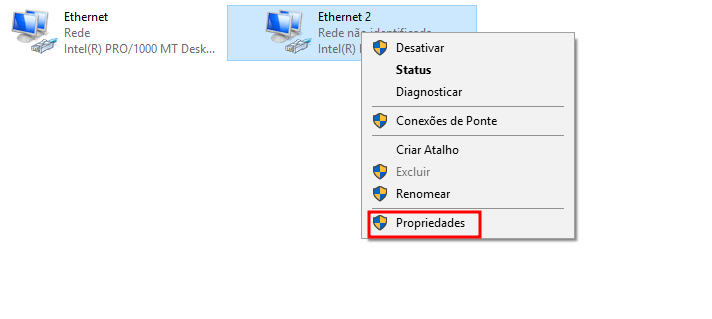
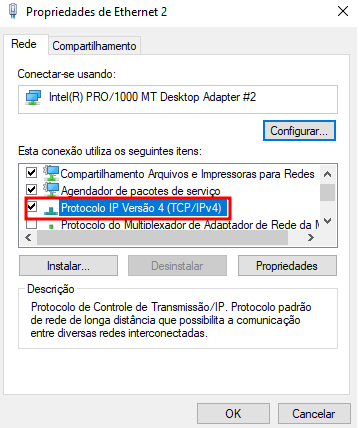
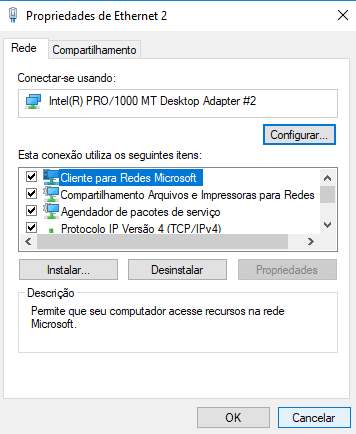
Right-click on the representation of the network card to change the IP, then click “Properties.
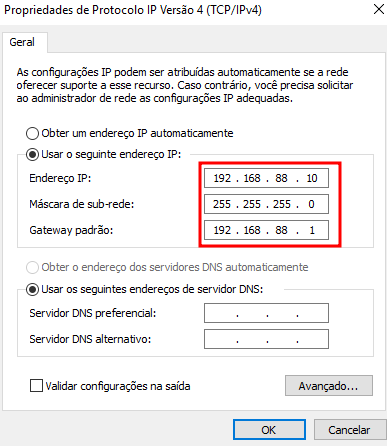
Double-click on “Internet Protocol Version 4 (TCP/IPv4)” and enter the highlighted IP information.
In this example, the provided information is:
- IP Address: 192.168.88.10
- Subnet Mask: 255.255.255.0
- Default Gateway: 192.168.88.1
Click “OK”.
Click “OK” to save the changes.
Running Netinstall Mikrotik
After extracting the “netinstall…zip” folder, select the folder with the files and right-click on the “netinstall64.exe” file, then choose “Run as administrator.”

In the Netinstall program, click on the “Net booting” button.

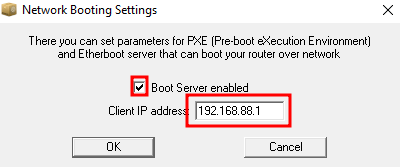
Enable the “Boot Server enable” option, enter an IP in “Client IP address” that the Mikrotik device will receive upon restarting (e.g., 192.168.8.1), and click “OK.”
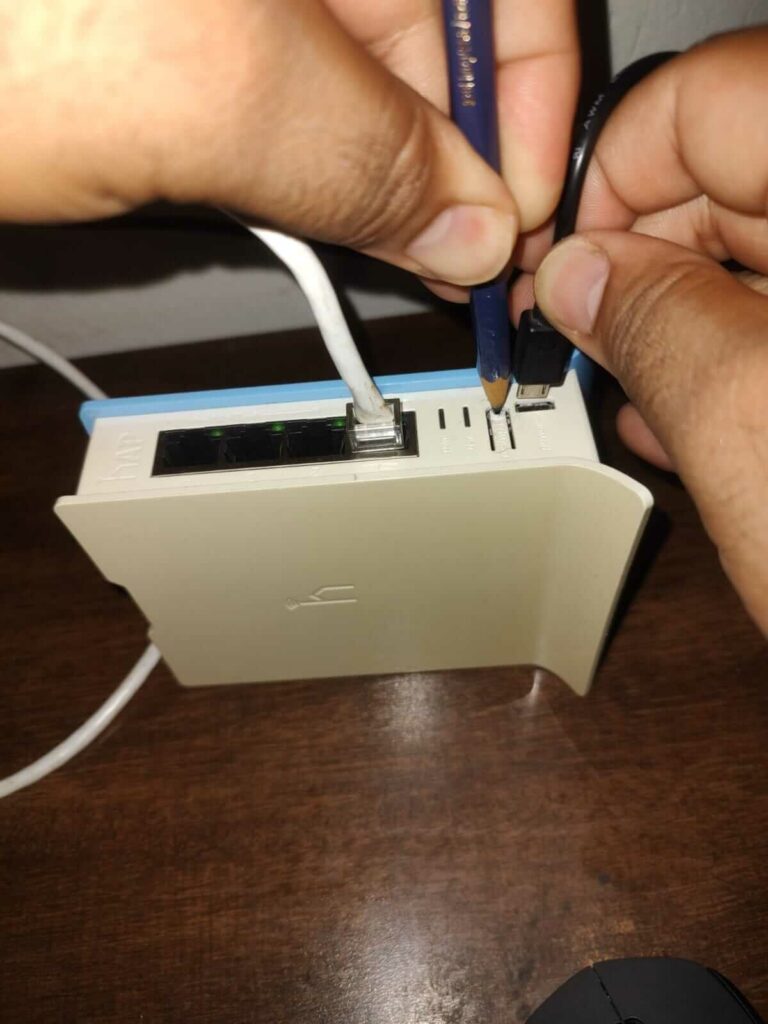
Resetting the Mikrotik Device
With a cable connected to the “Ether1” port or marked as “POE” or “Boot” (check based on the Mikrotik device model), press the reset button and connect the power cable. Keep it pressed for approximately 30 seconds.
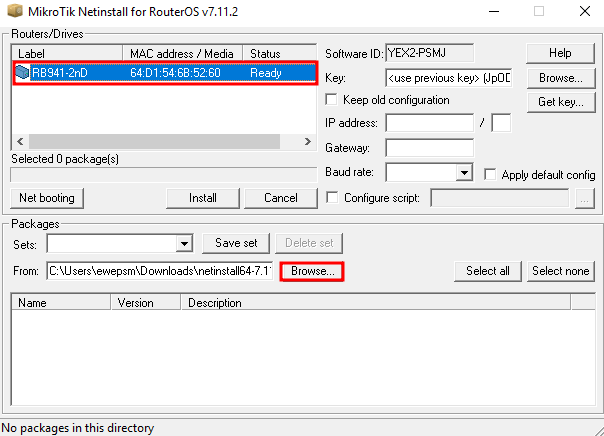
Returning to Netinstall Mikrotik
Within 30 seconds, the Mikrotik device identification should appear in the “Routers/Drivers” field (if not, review the process). Click on “Browse.”
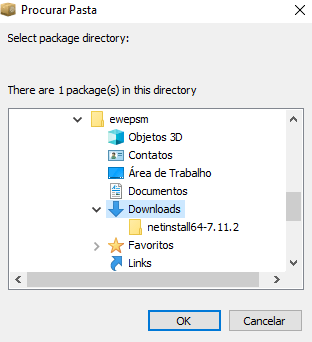
Select the folder where the “.npk” file was saved and click “OK.”
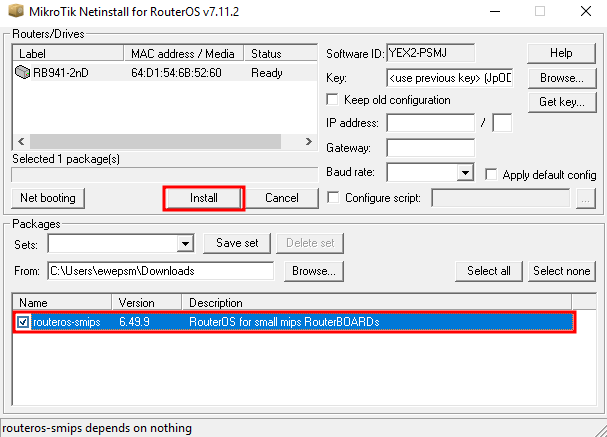
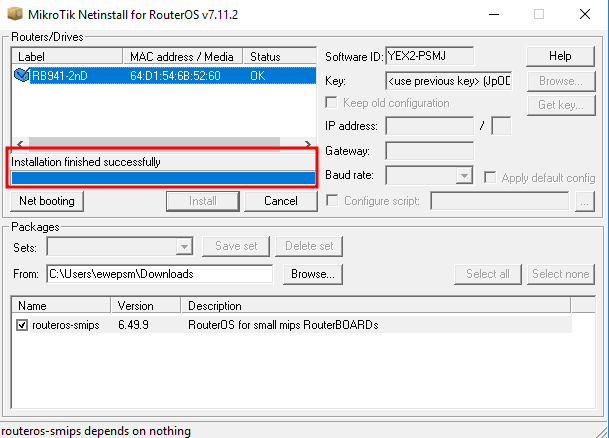
Choose the RouterOS file (e.g., version 6.49.9) and click “Install.”
Wait for the message “Installation finished successfully”.
Access Mikrotik via Winbox to view the installed RouterOS version.
Now that you know how to use Netinstall Mikrotik for RouterOS recovery, simply follow the steps in this documentation.
Did not find the information you were looking for? Have other questions? Want to help us improve the material? Do not hesitate to contact us and seek support from MKController! Click here for any questions
Harness the control, efficiency and remote access of your Mikrotik with MKController. Click here to try it now and discover the power of advanced and intuitive management to take your experience to new heights!